uni-lu-logo

SCRATCH: Game Design in Scratch

Are you interested in creating your own interactive stories and games? In this tutorial, we will explore how to use Scratch to create a game. Scratch is a visual programming language perfect for beginners but powerful enough for advanced projects.

Step 1: GET STARTED WITH SCRATCH

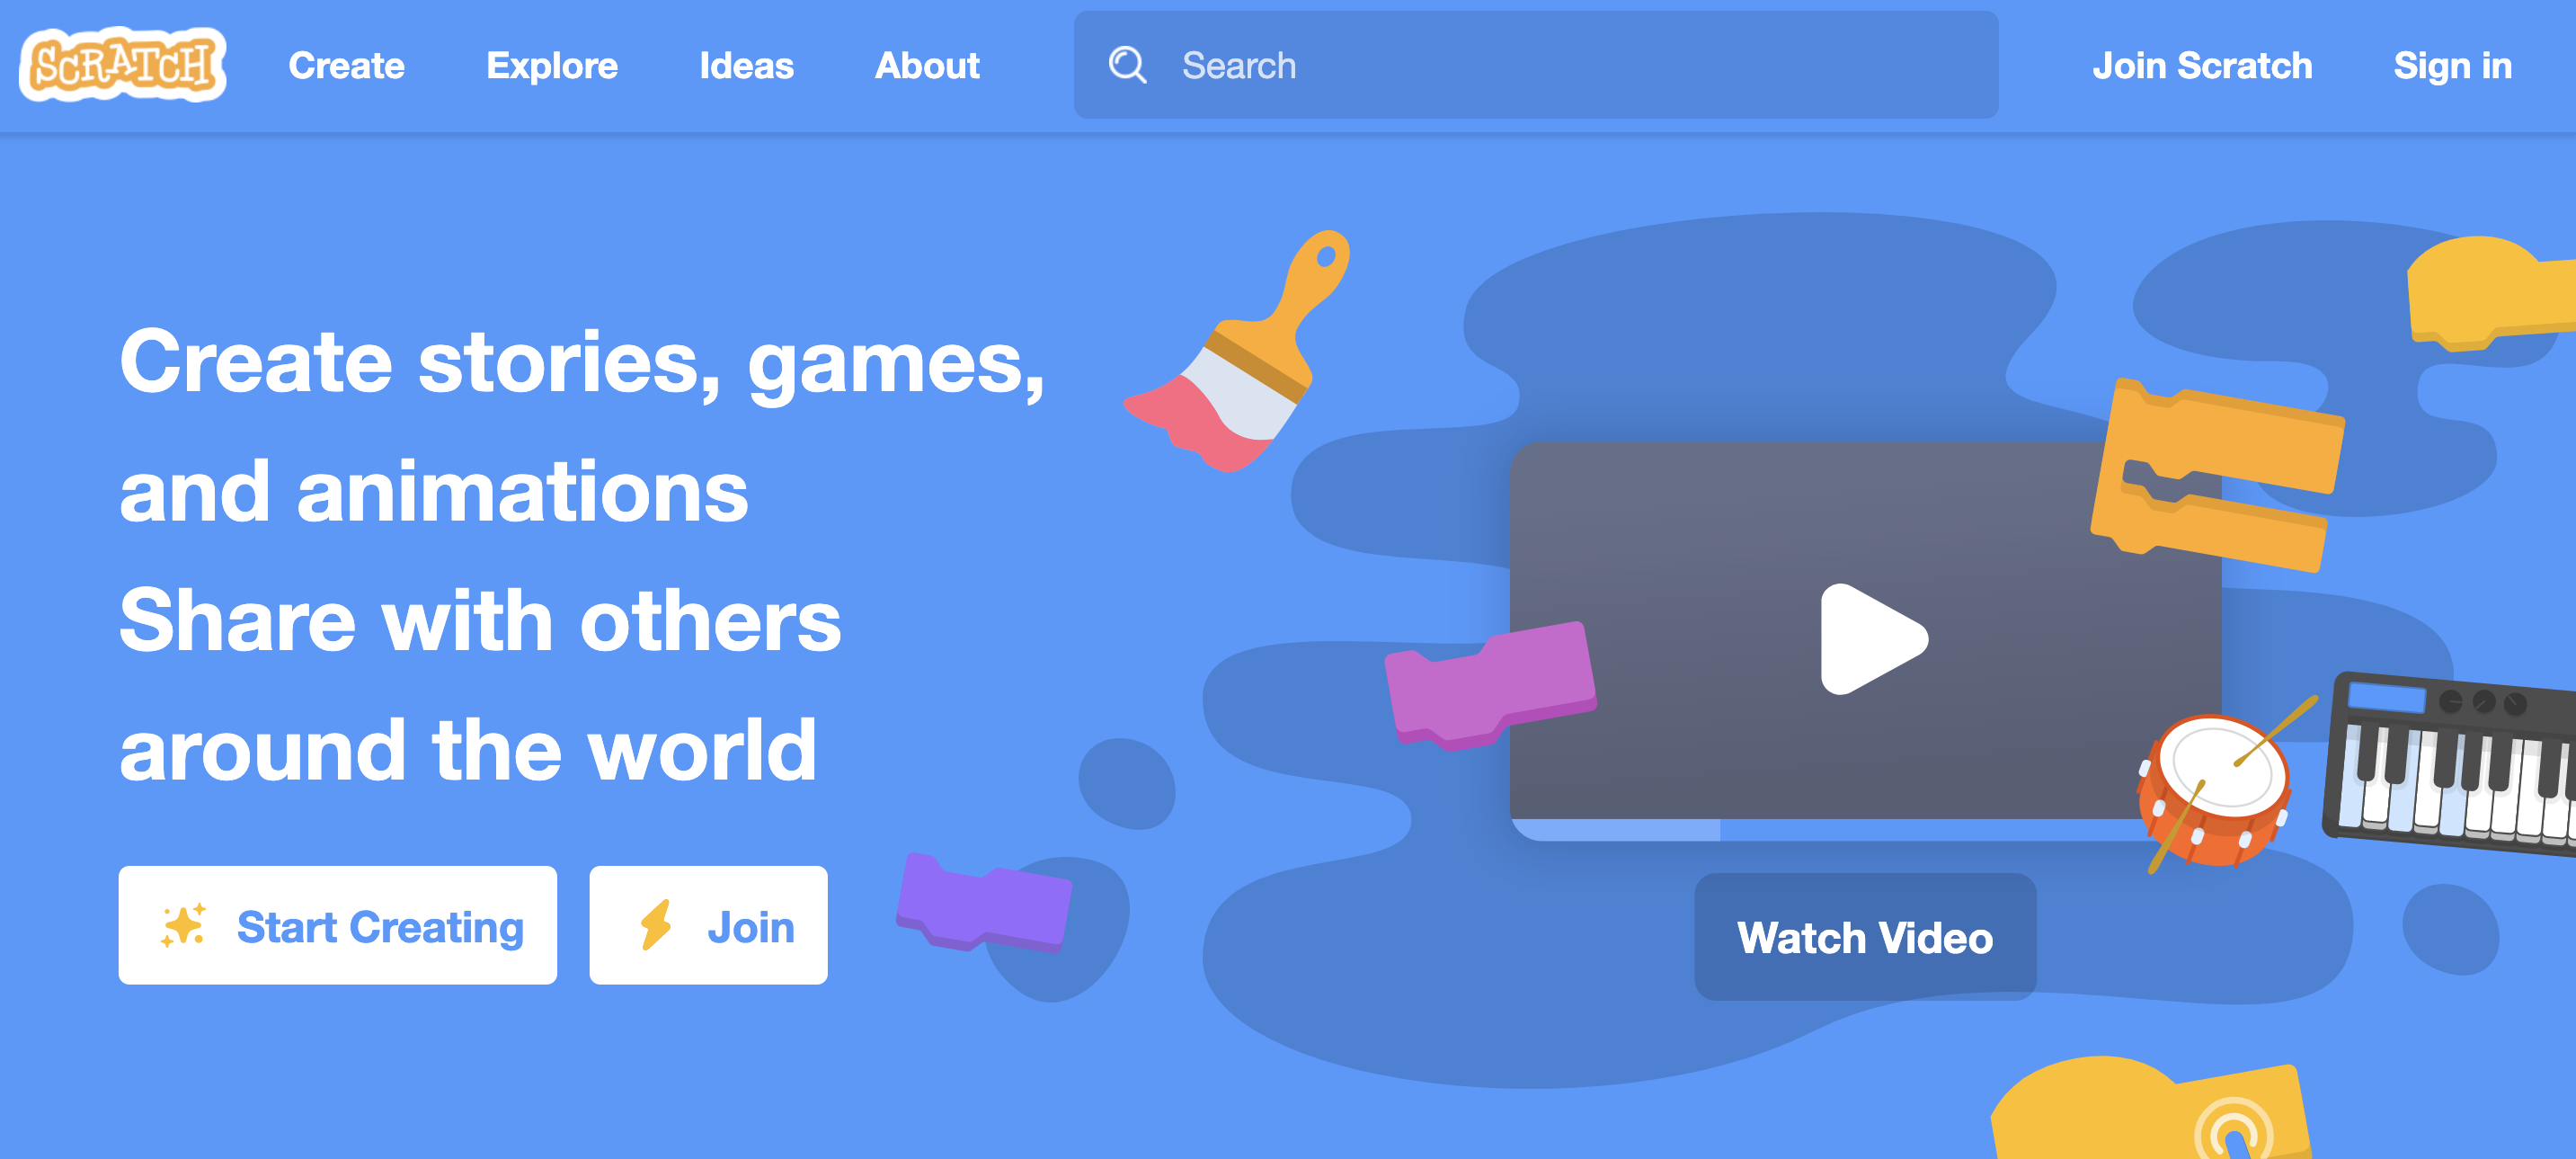
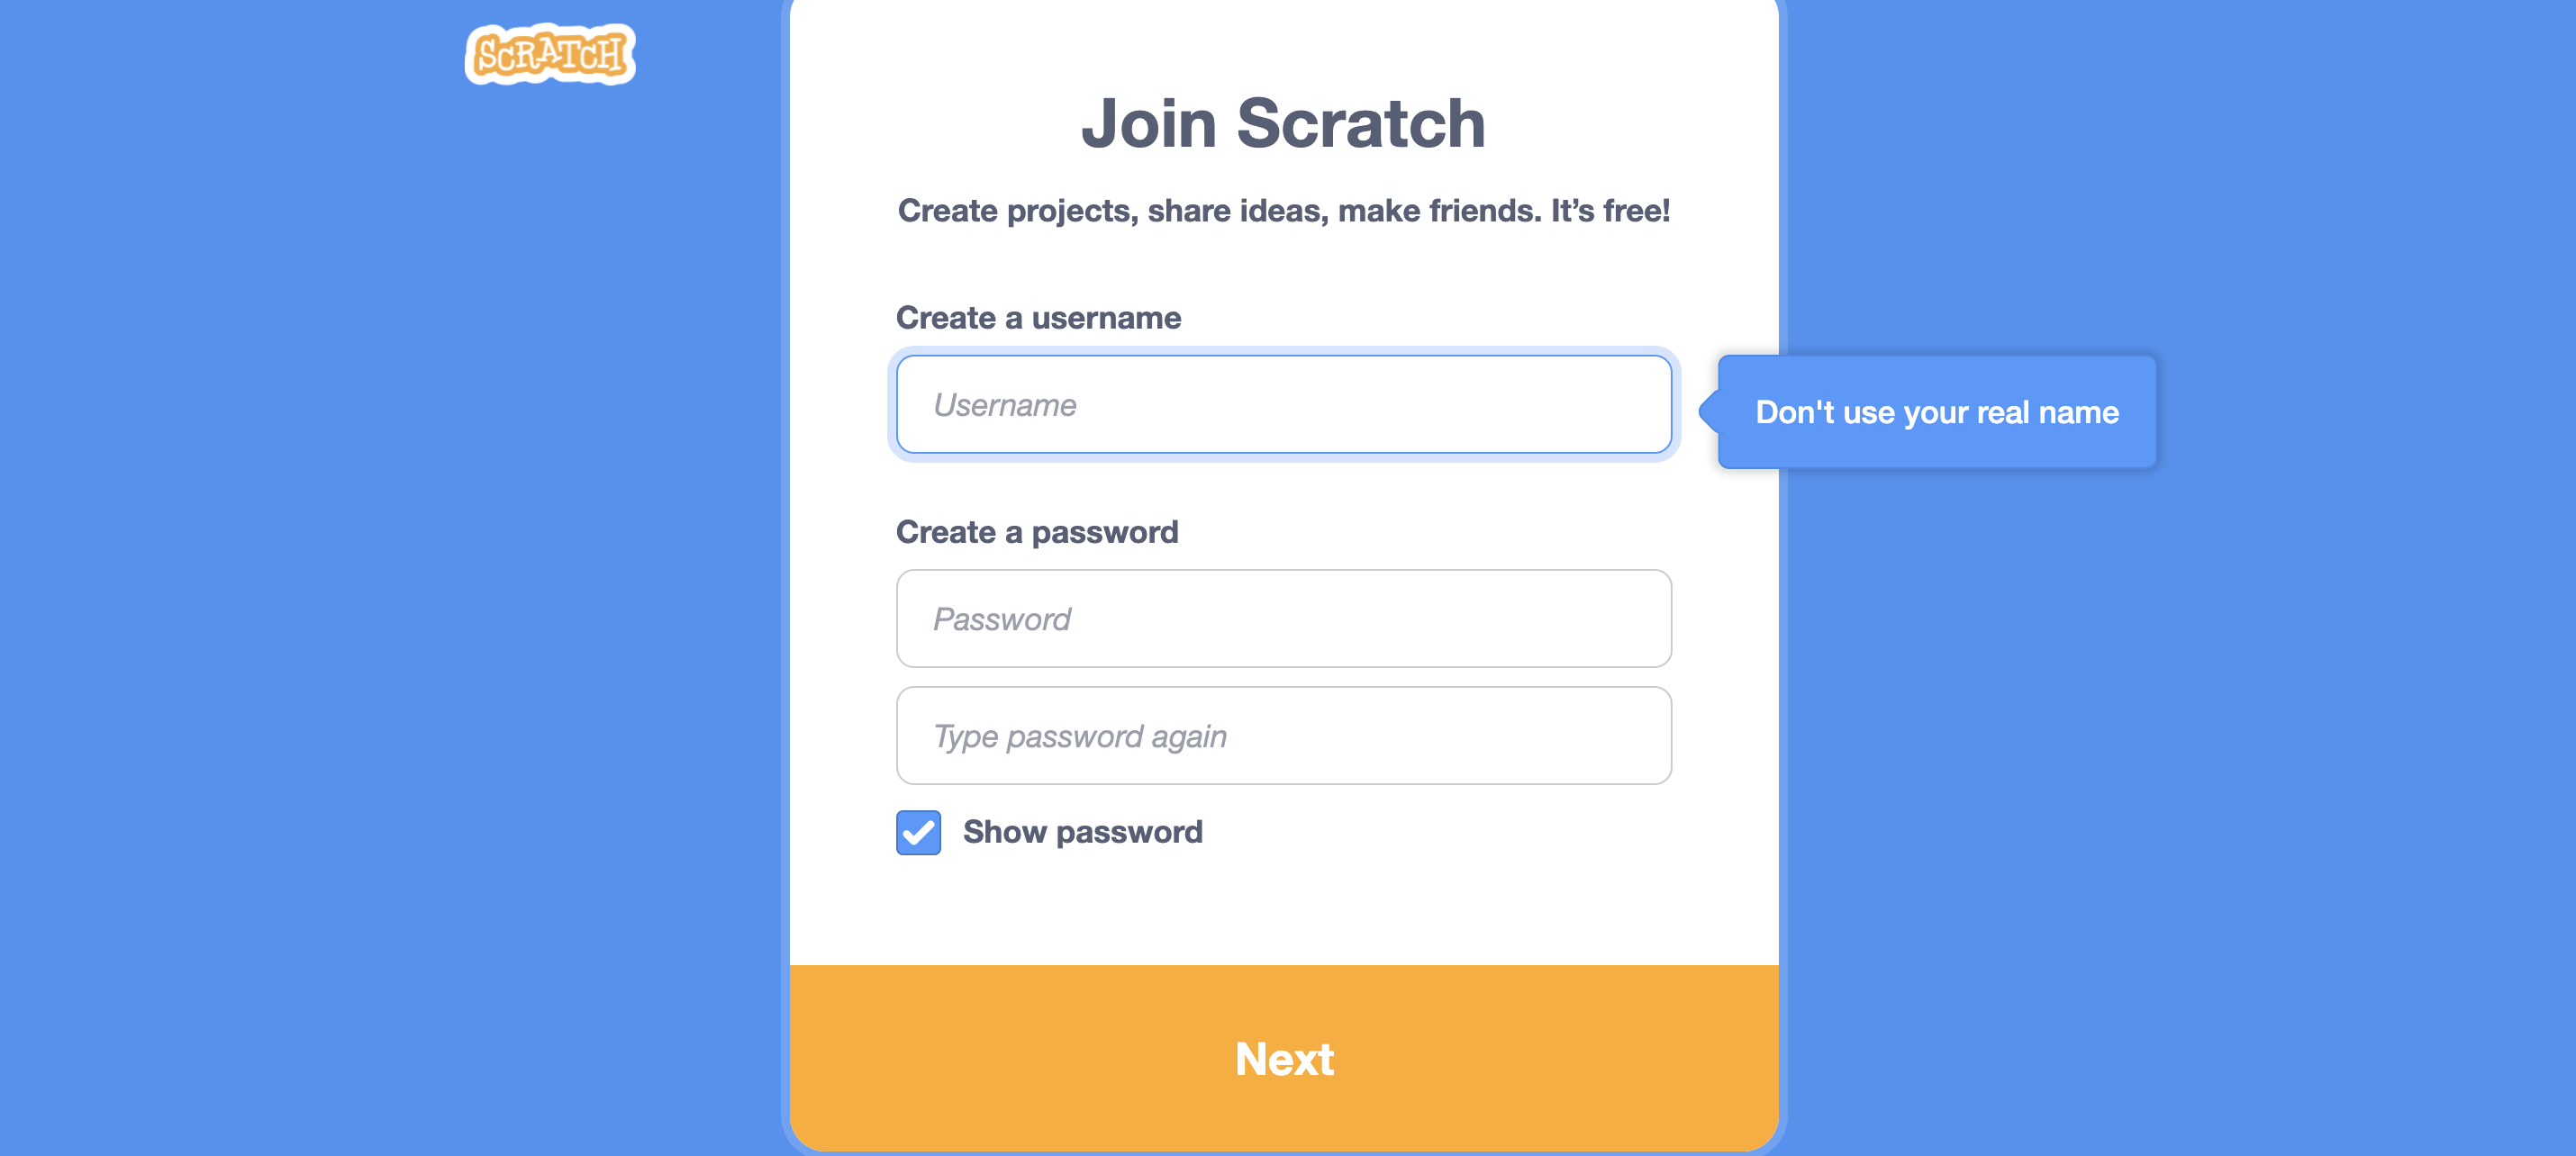
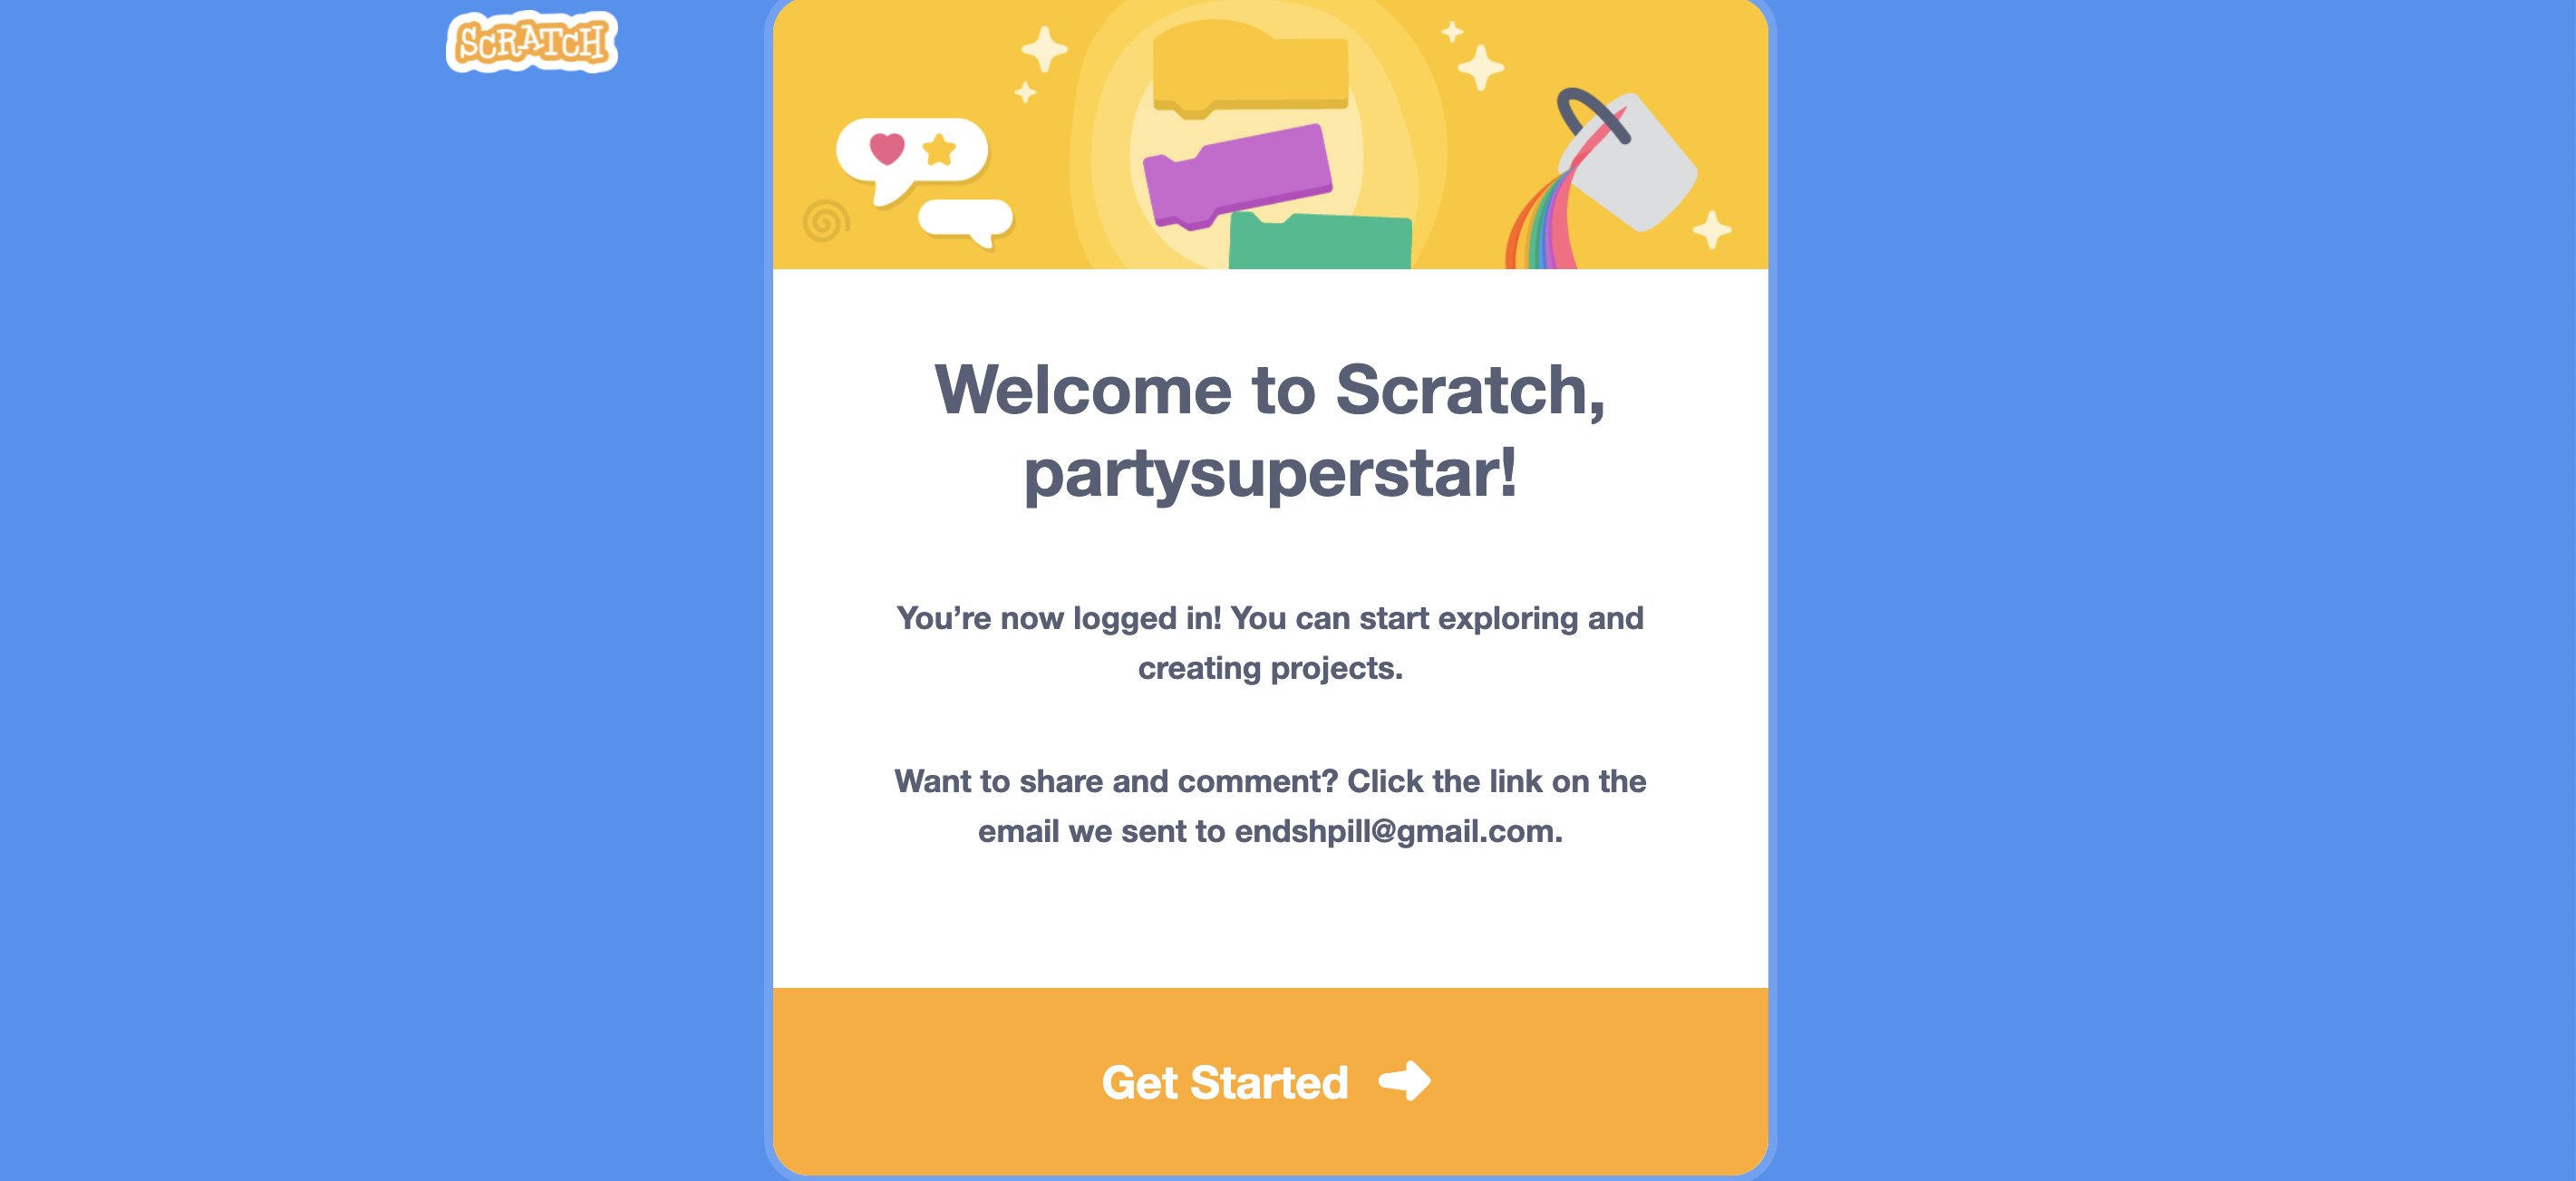
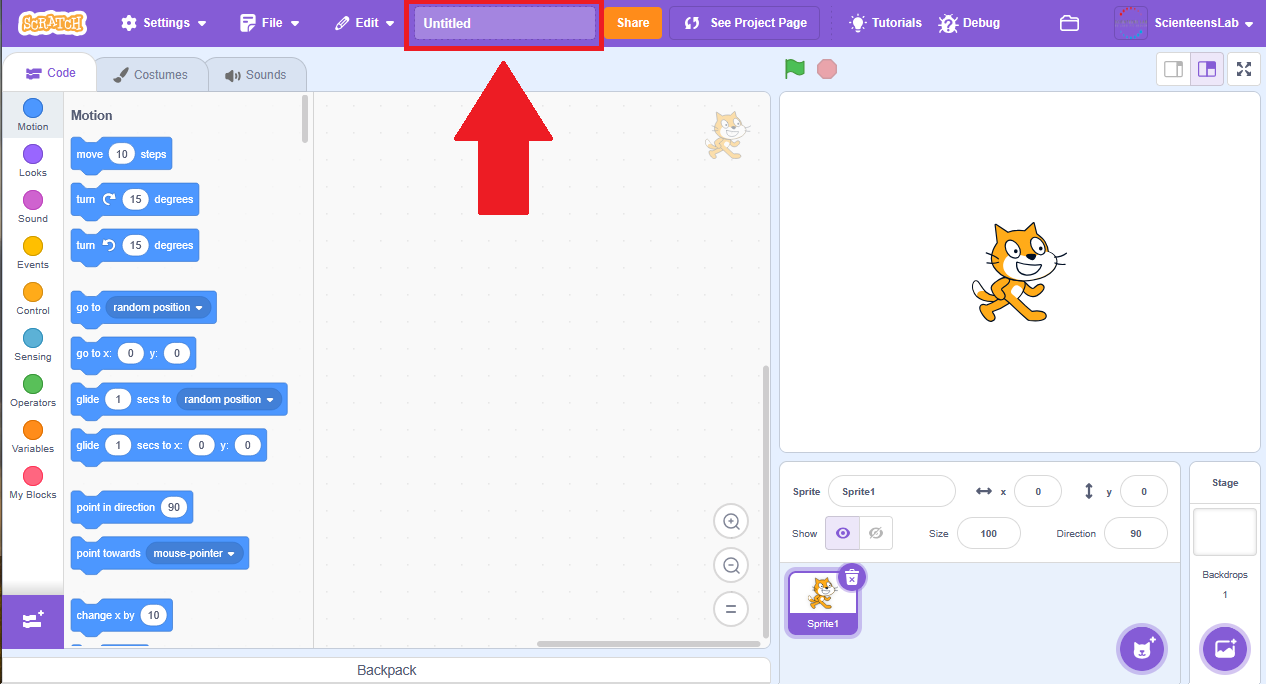
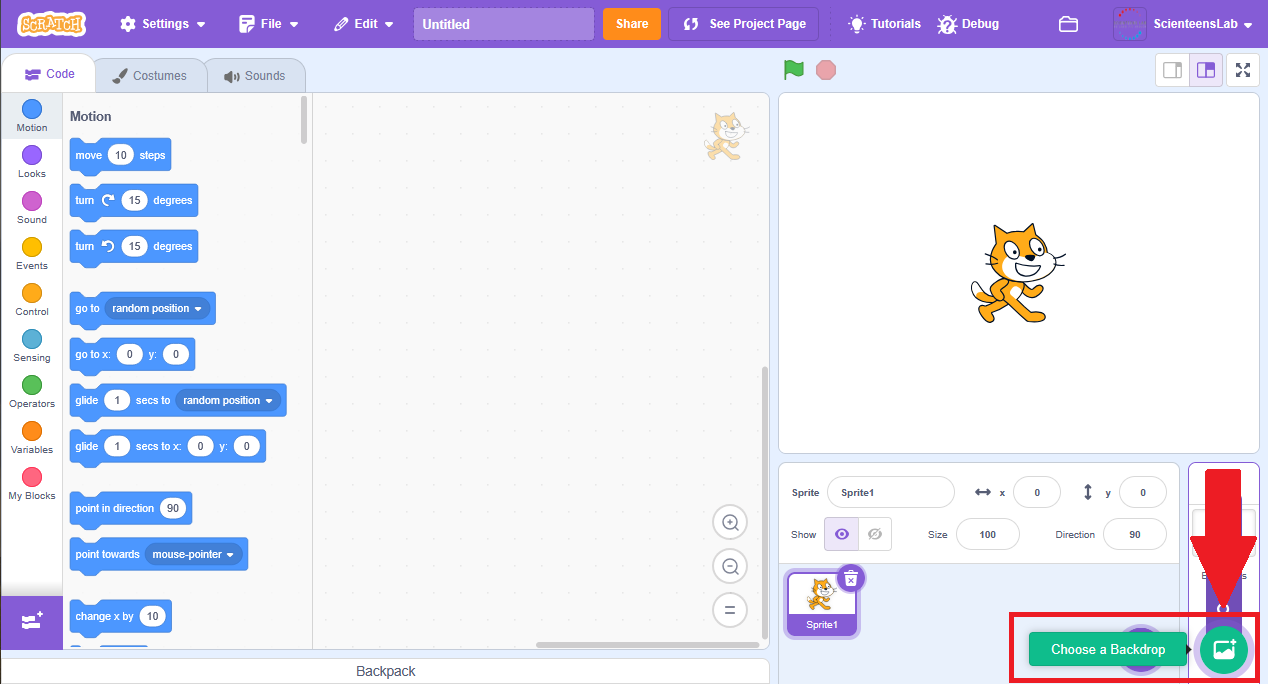
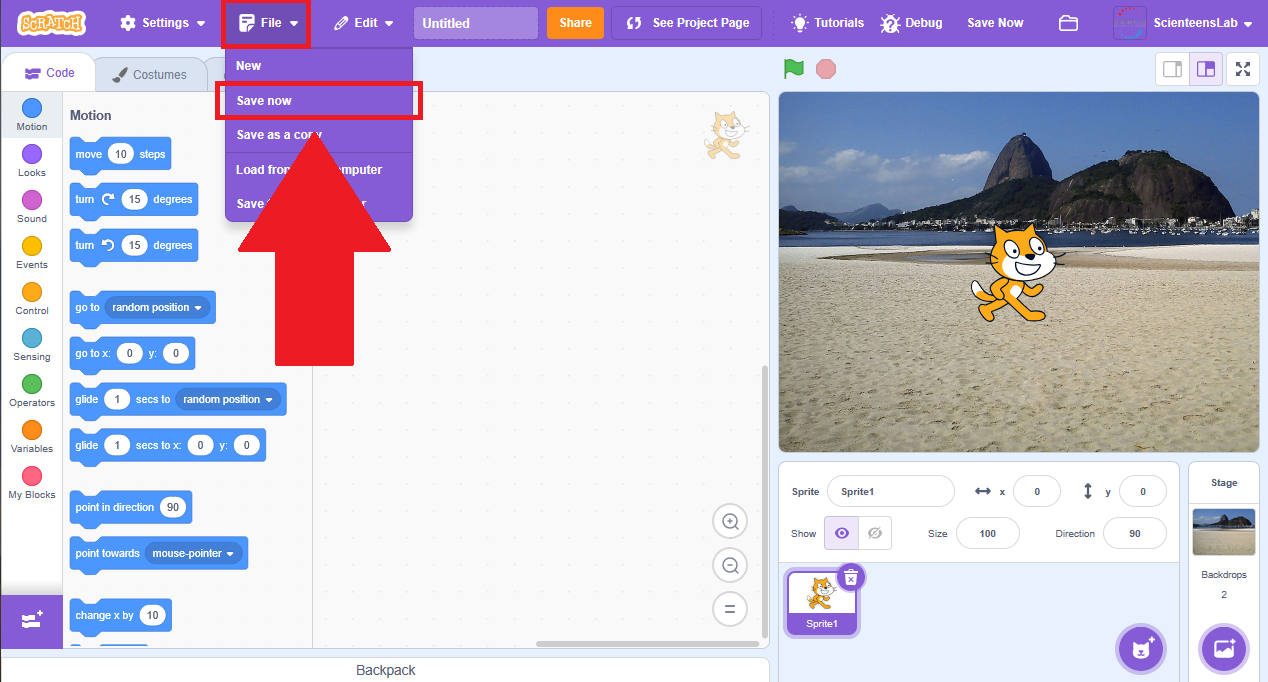
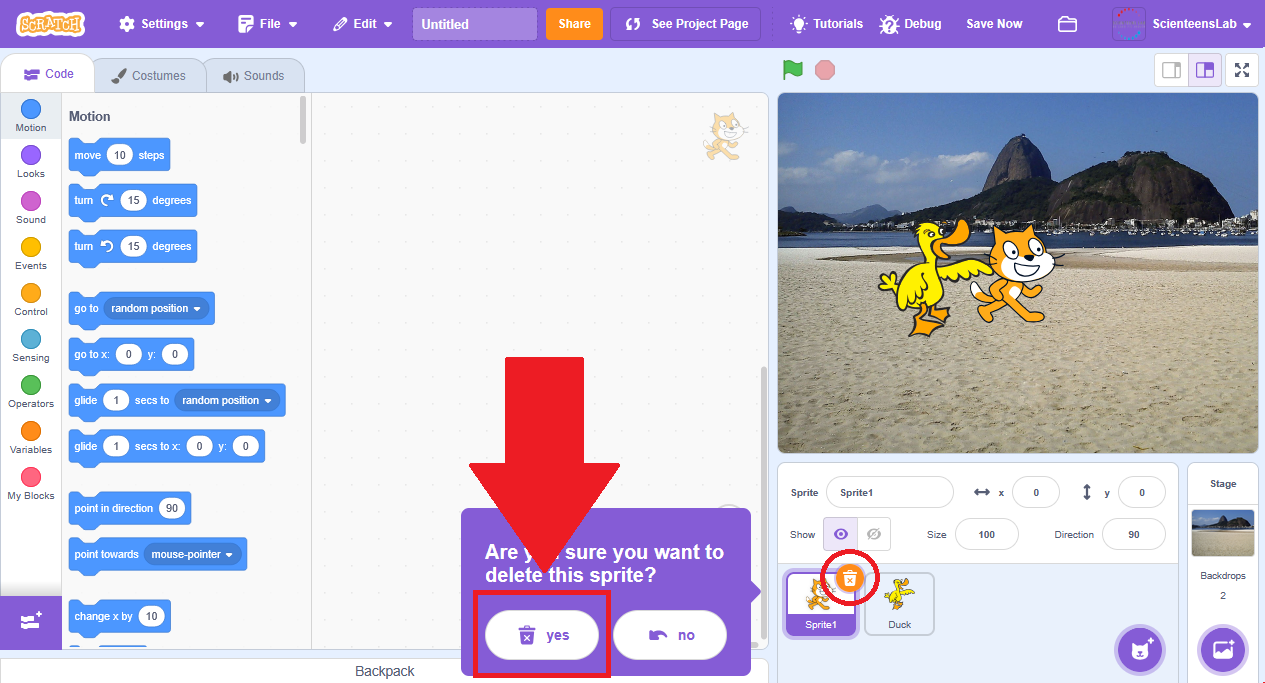
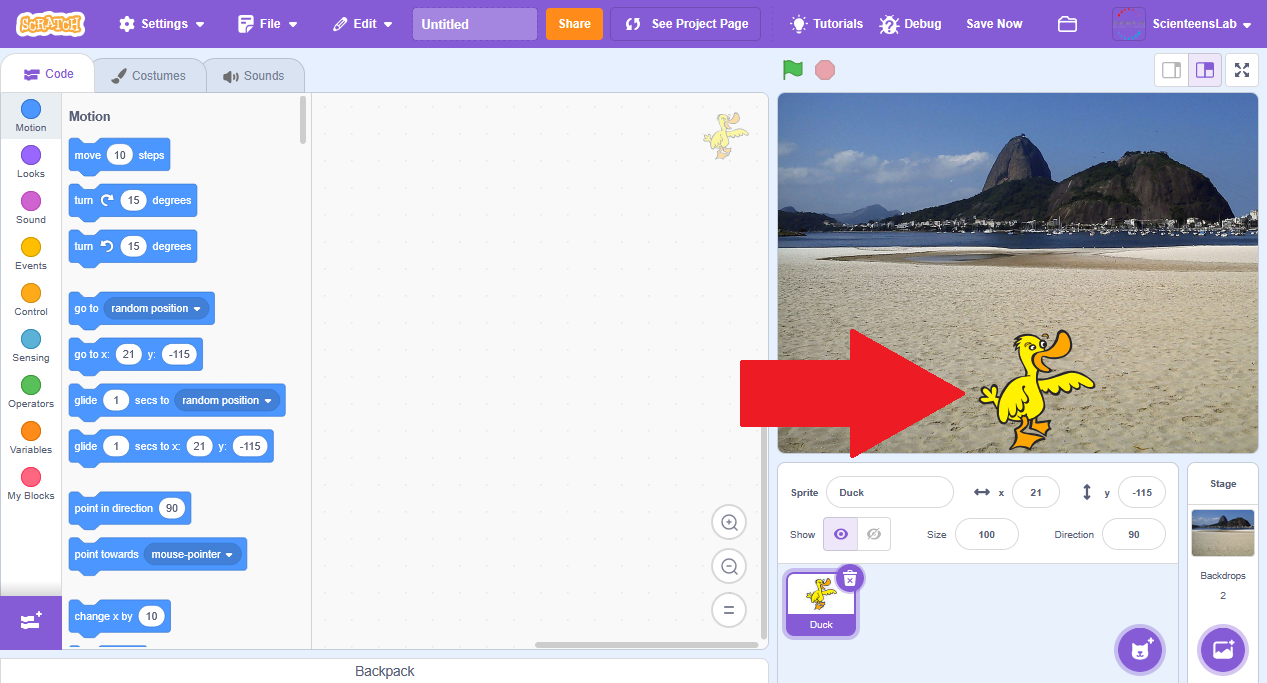
First, you’ll need to go to the Scratch website and create an account. It’s free and easy to do. Once you’ve created your account, you’ll be taken to the Scratch homepage. Here, you can explore other projects, but for now, let’s focus on creating our own.

1. Go to the Scratch website

Open up your preferred web browser and go to the Scratch website

2. Join Scratch

Click on the “Join Scratch” button in the top-right corner of the page.

3. Fill out

Fill out the registration form with your desired username, password, and email address. You can also add an avatar image if you like.

4. Get Started

Click on the “Join Scratch” button at the bottom of the registration form to create your account.

Step 2: CREATE A NEW PROJECT

You’ll learn how to create a new project in Scratch and get started on programming your first game. With a blank canvas in front of you, the possibilities are endless. Let’s dive in!

1. Name your project

After opening your first project, you will see the programming environment of your “Untitled” project. Here, you can choose a name for your project.

3. backdrop

Select a backdrop from the library or upload your own.

4. Save now

Don’t forget to save your project regularly by clicking on the “Save” button on the top right corner of the screen.

5. Add your game character

Add a new Sprite by clicking on the round button in the bottom left corner. You can upload your own image or choose from a large library of characters.

6. Choose your favorite character

From the collection of images, choose the character you want for your game.

7. Remove the Cat from the scene

Since we do not need the original sprite of the cat for our game, you can remove the character from your project.

8. Place your Game character

For our game, we will need our game character to be at the bottom of the screen, so just drag the character to the bottom of the screen with your mouse cursor.

Step 3: Start programming the game

We will now make these characters interact with the environment and the player of the game. Simple steps will create a simple and fun gaming experience.

1. How To program a character

In Scratch, the left part of the screen contains all the commands required to write a program (for example the yellow blocks in box 1).

The main program controlling your current character will be in the main area in the middle (box 2 on the image here). With your mouse cursor, drag the block “when (space) pressed” into the middle.

2. Make the character Move

The yellow block is an event block, executing every block under it when the correct event happens. When pressing right arrow, we want our character to move to the right, so we need to increase his position on the “x axis”:

3. Add Event to move left

We now also want to move our character to the left. Try adding a second event block and a command below to make this work.

You now have a moving character. Let us now add a small falling object for the character to collect.

4. Add an object to the game

Add a second game object to the project in the same way as before (see boy 1) and place the new object at the top of the screen.

5. Let us program this new object

Make sure to click on your new object (see box 1) to be able to program the object.

We now want to start the game when pressing the space button, so we add a new “when (space) key pressed” event block to the program of the object (as in box 2).

Step 4: Make a working game

We can now finish coding the game objects to make a working game with a score and a clear goal.

1. Make the object fall

After we start a game by pressing “Space”, we want the object to fall until it reaches the bottom of the screen. We need to program three steps:

  • Place the object on top of the screen (the blue “go to” block)
  • Tell it to fall as long as the floor is not reached. Control block “repeat until” will run until condition of the sensing block “touching” is true.
  • The object should fall slowly down the “y axis” with “change by” block.

2. Character can catch object

When the character touches the falling object, it should be collected and restart at the top of the screen by adding this block into the program of the falling object:

3. Object start should always change

The new object should not start in the middle, but always at a different position. By using a random operator block “pick random”, the “x axis” value of the new object will always change:

4. Variables

In Scratch, variables are like containers that can hold different types of information, such as numbers, text, or even other blocks of code. They are useful for storing and manipulating data that might change over time or in response to events in the game.

For this game, you want to keep track of the number of objects your character has collected. This will occur in a “Score” variable, that counts the number of objects that are collected.

5. Add variable and count objects

Generate a new variable called “Score” and add commands to the code to always start with 0 points and add 1 point for every collected object.

Use the “set (Score)” block at the beginning of the program (box 2) and use the “change (Score)” block when the falling object touches your character. (box 3)

6. Finish the first version of your game

Adding a fun message at the end of the program lets the user know that one round of the game is finished. Use the looks block “say …” at the end of the program.
Congratulations, you just finished your first game. Now you can explore many fun ideas to make the game bigger or more complex. A few ideas will be presented in the next step.

Step 5: Expand your game

Now, be creative and expand your game. A few ideas and challenges for you to try are listed here, if you need some guidance.

You can try to make the following ideas work. Details here will be added in the future.

  • Speed up the object during the game, to make it harder over time
  • Add power-ups to your character when collected

Congratulations! You have just learned how to create your very first interactive game in Scratch. With the skills you have learned in this tutorial, you can create all sorts of content. So, what are you waiting for? Start coding and let your imagination run wild!

Feedback Form

Great job on completing the tutorial!
We would love to hear your thoughts on how we can make it even better.