PROCESSING
Part 2
create a background for youtube videos​

Are you looking to make your YouTube channel stand out?
In this tutorial, we’ll be using Processing to create a custom background for your YouTube videos.
Get ready to take your channel to the next level!

Step 1: Install Processing

The first step is to download and install Processing on your computer. Processing is a free and open-source programming language that’s perfect for creating dynamic graphics and animations. You can download Processing from the official website and install it following the instructions.

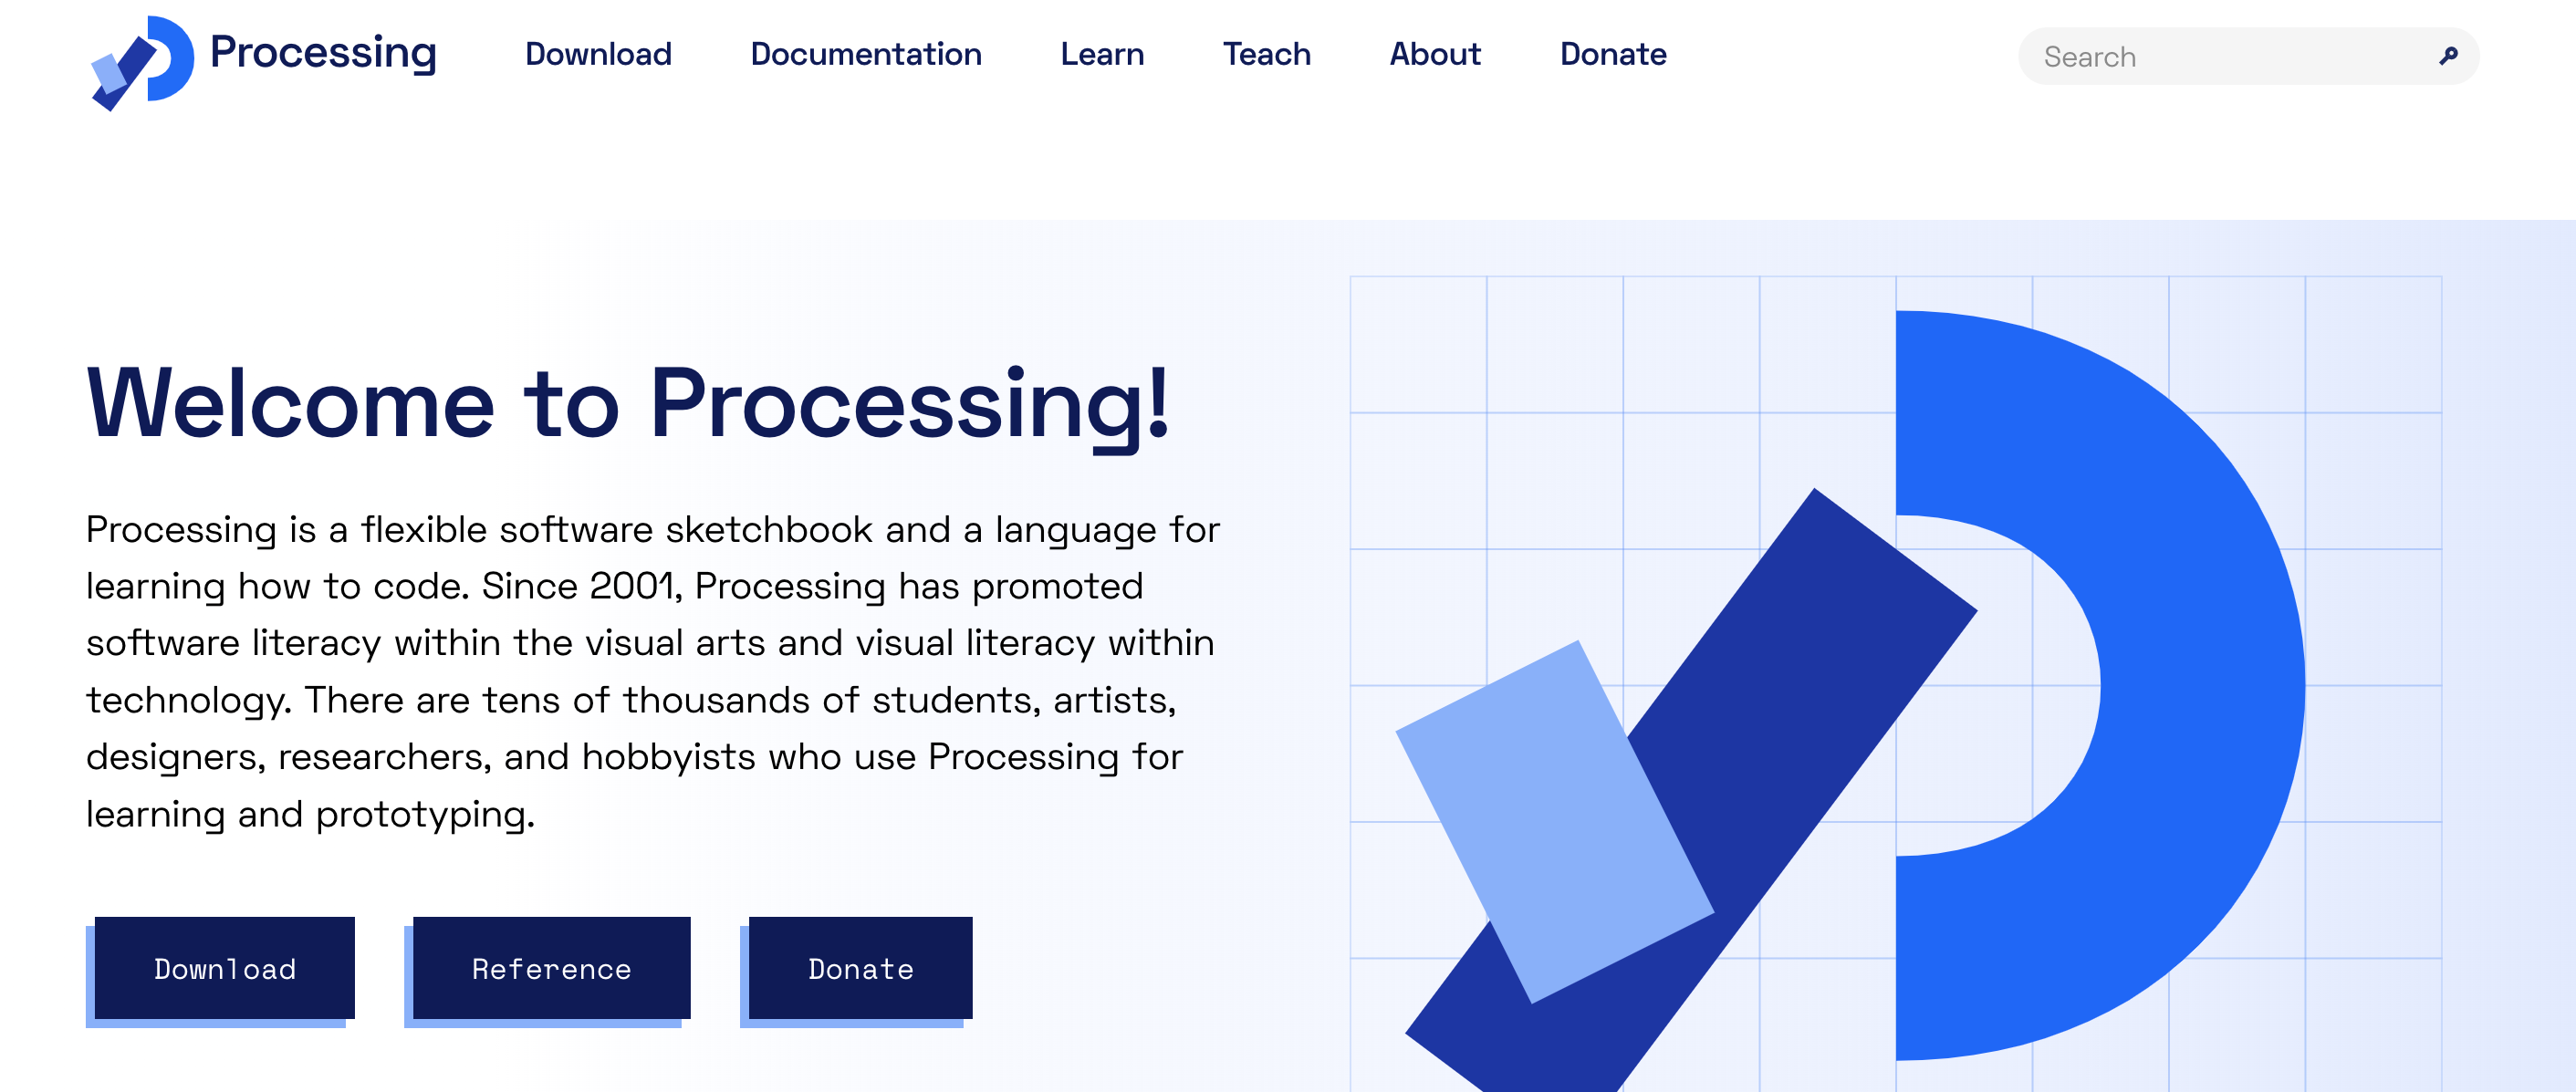
1. Go to the Processing website

https://processing.org/

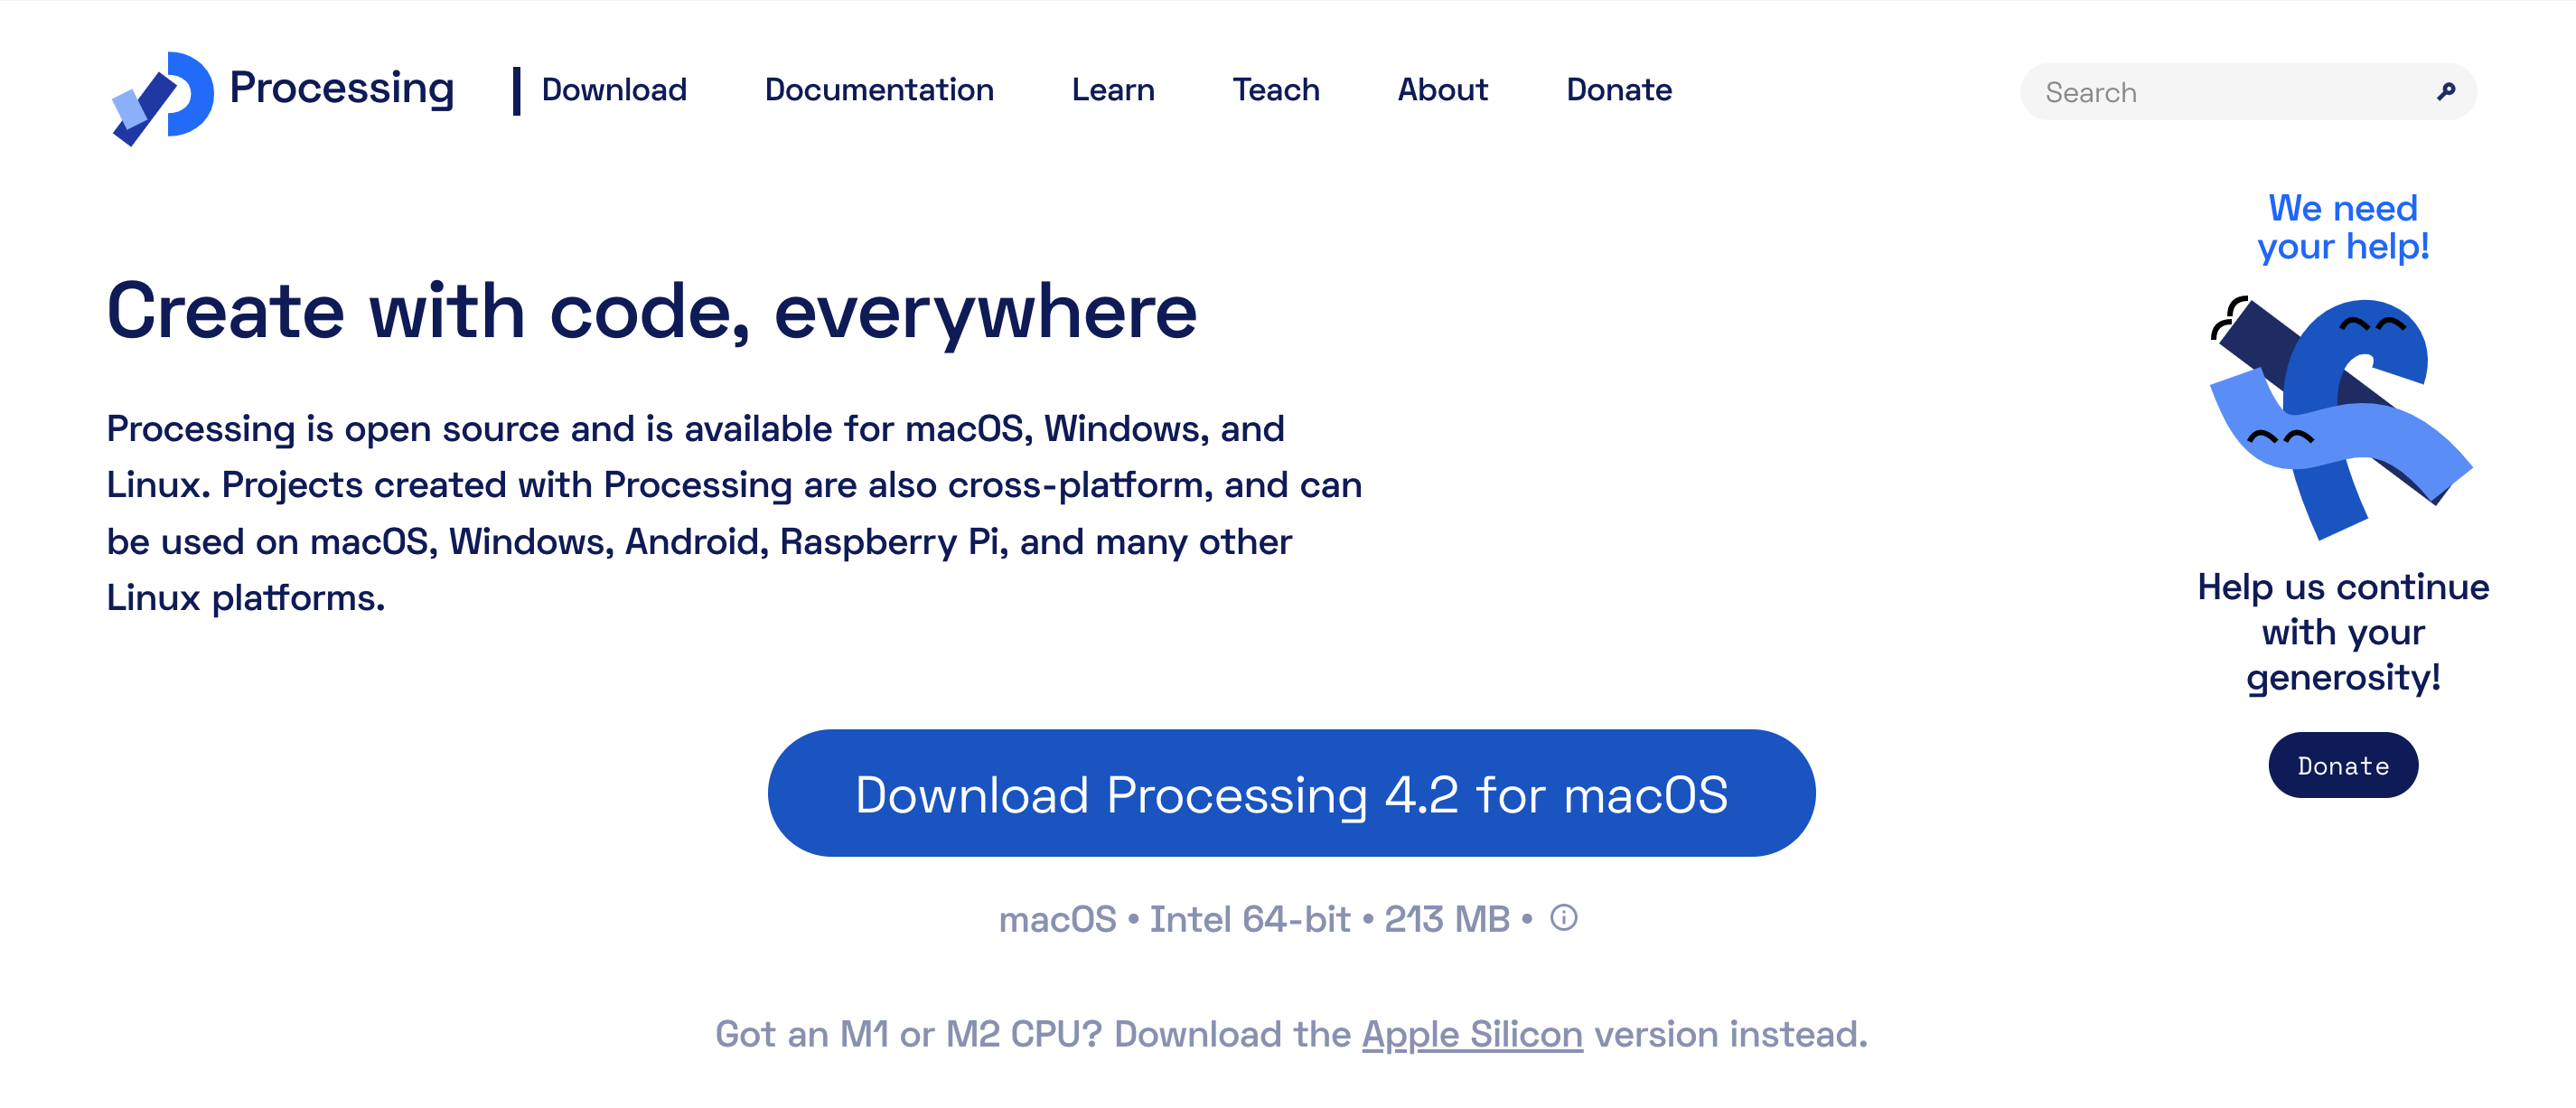
2. Download Processing

Choose your operating system Processing is available for Windows, Mac, and Linux operating systems. Click on the “Download” button.

3. INSTALL PROCESSING

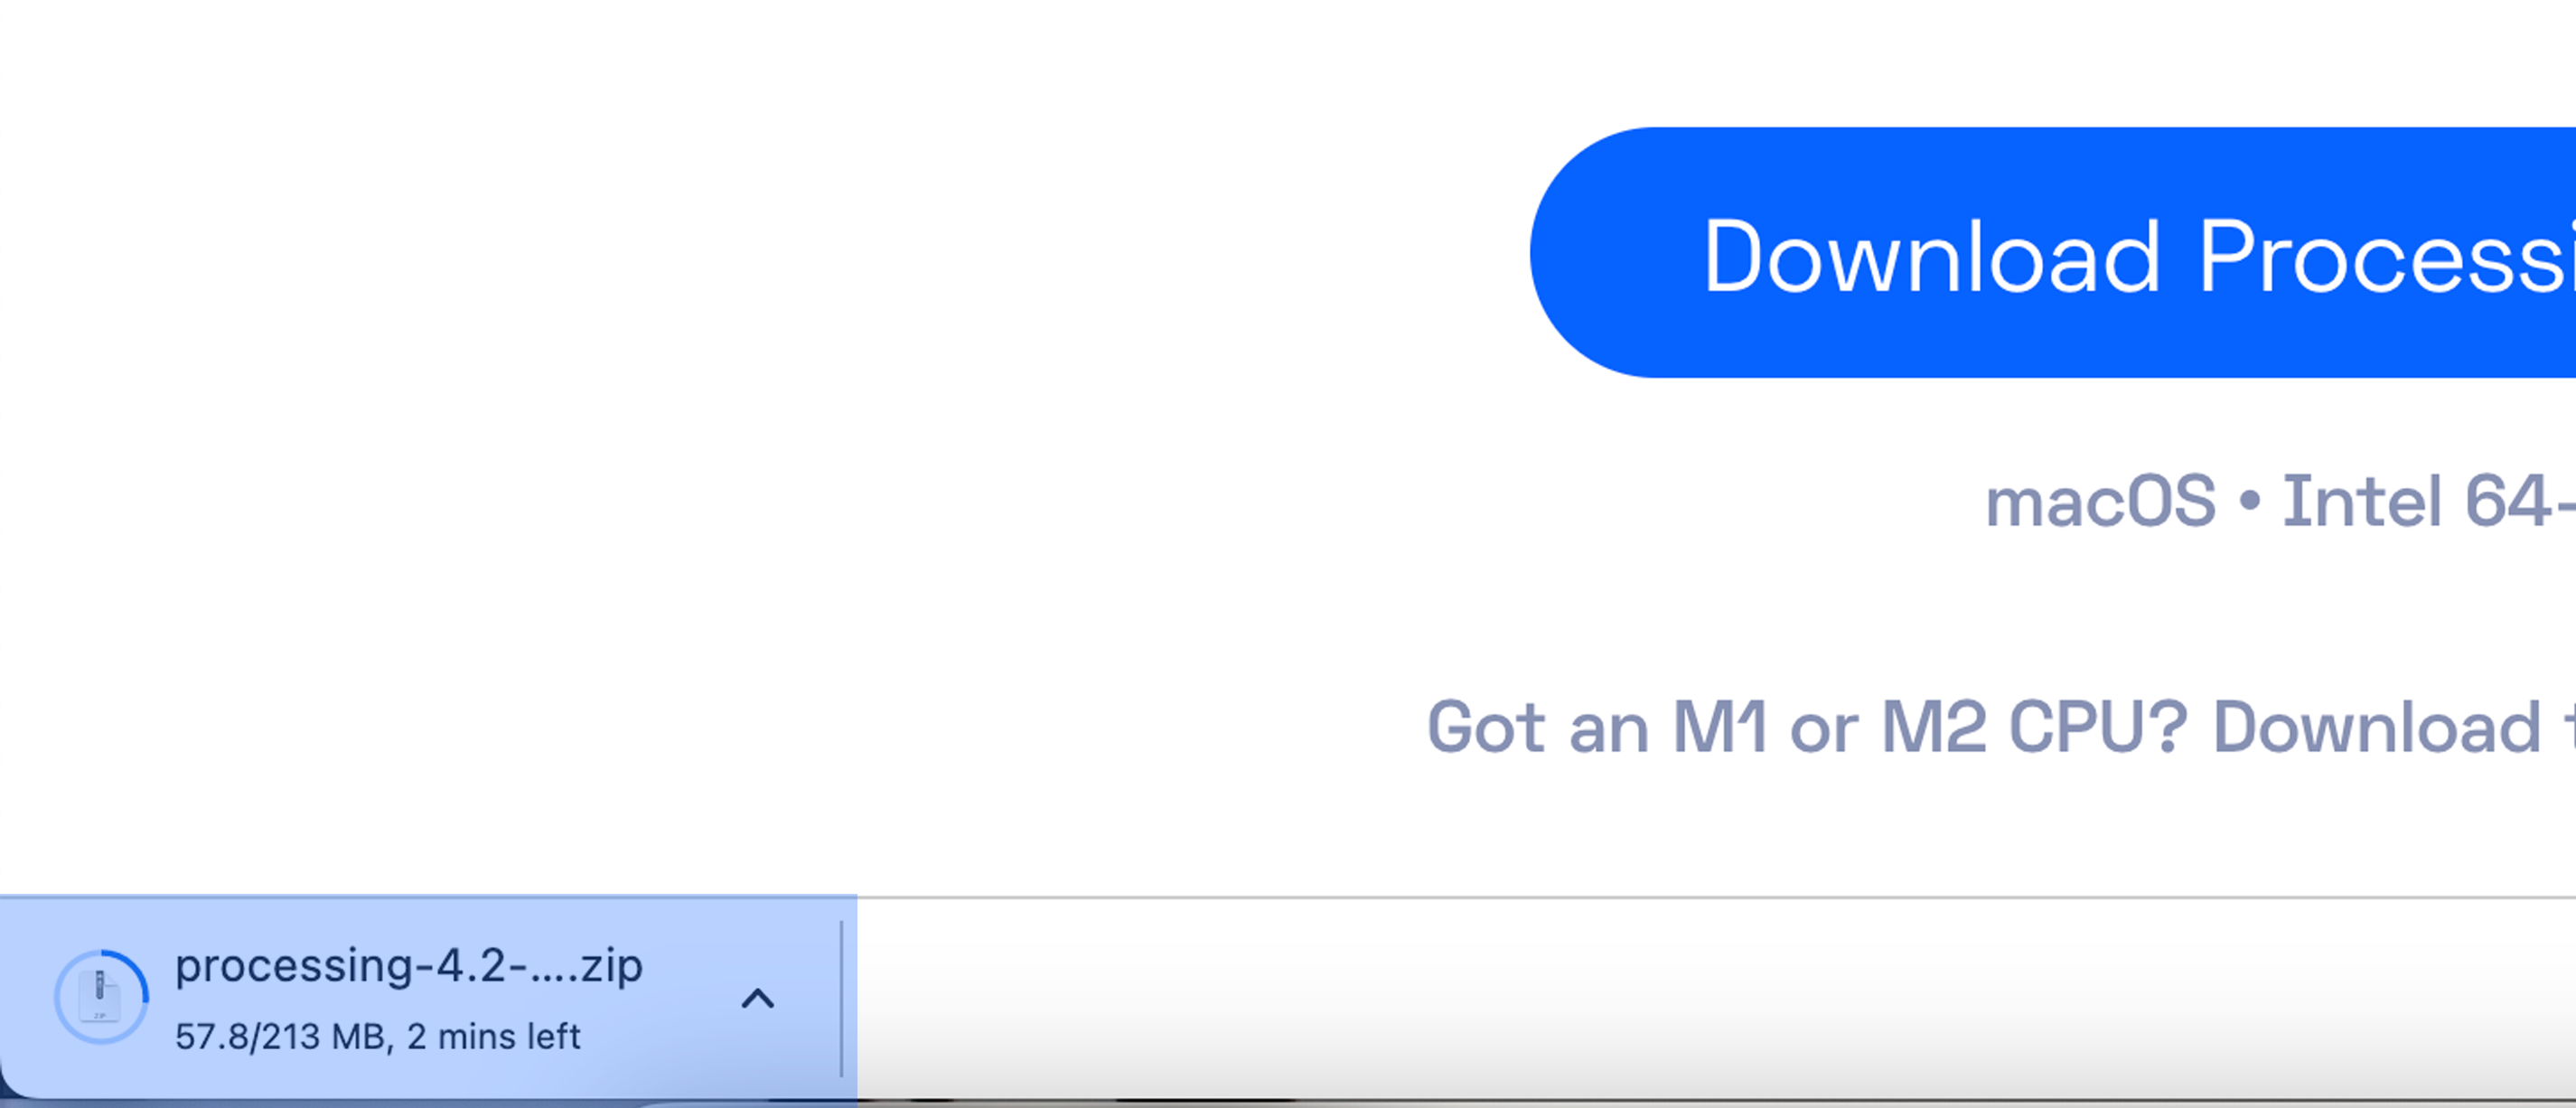
Once the download is complete, open up the file and follow the installation instructions. The installation process may vary depending on your operating system.​

4. Launch Processing

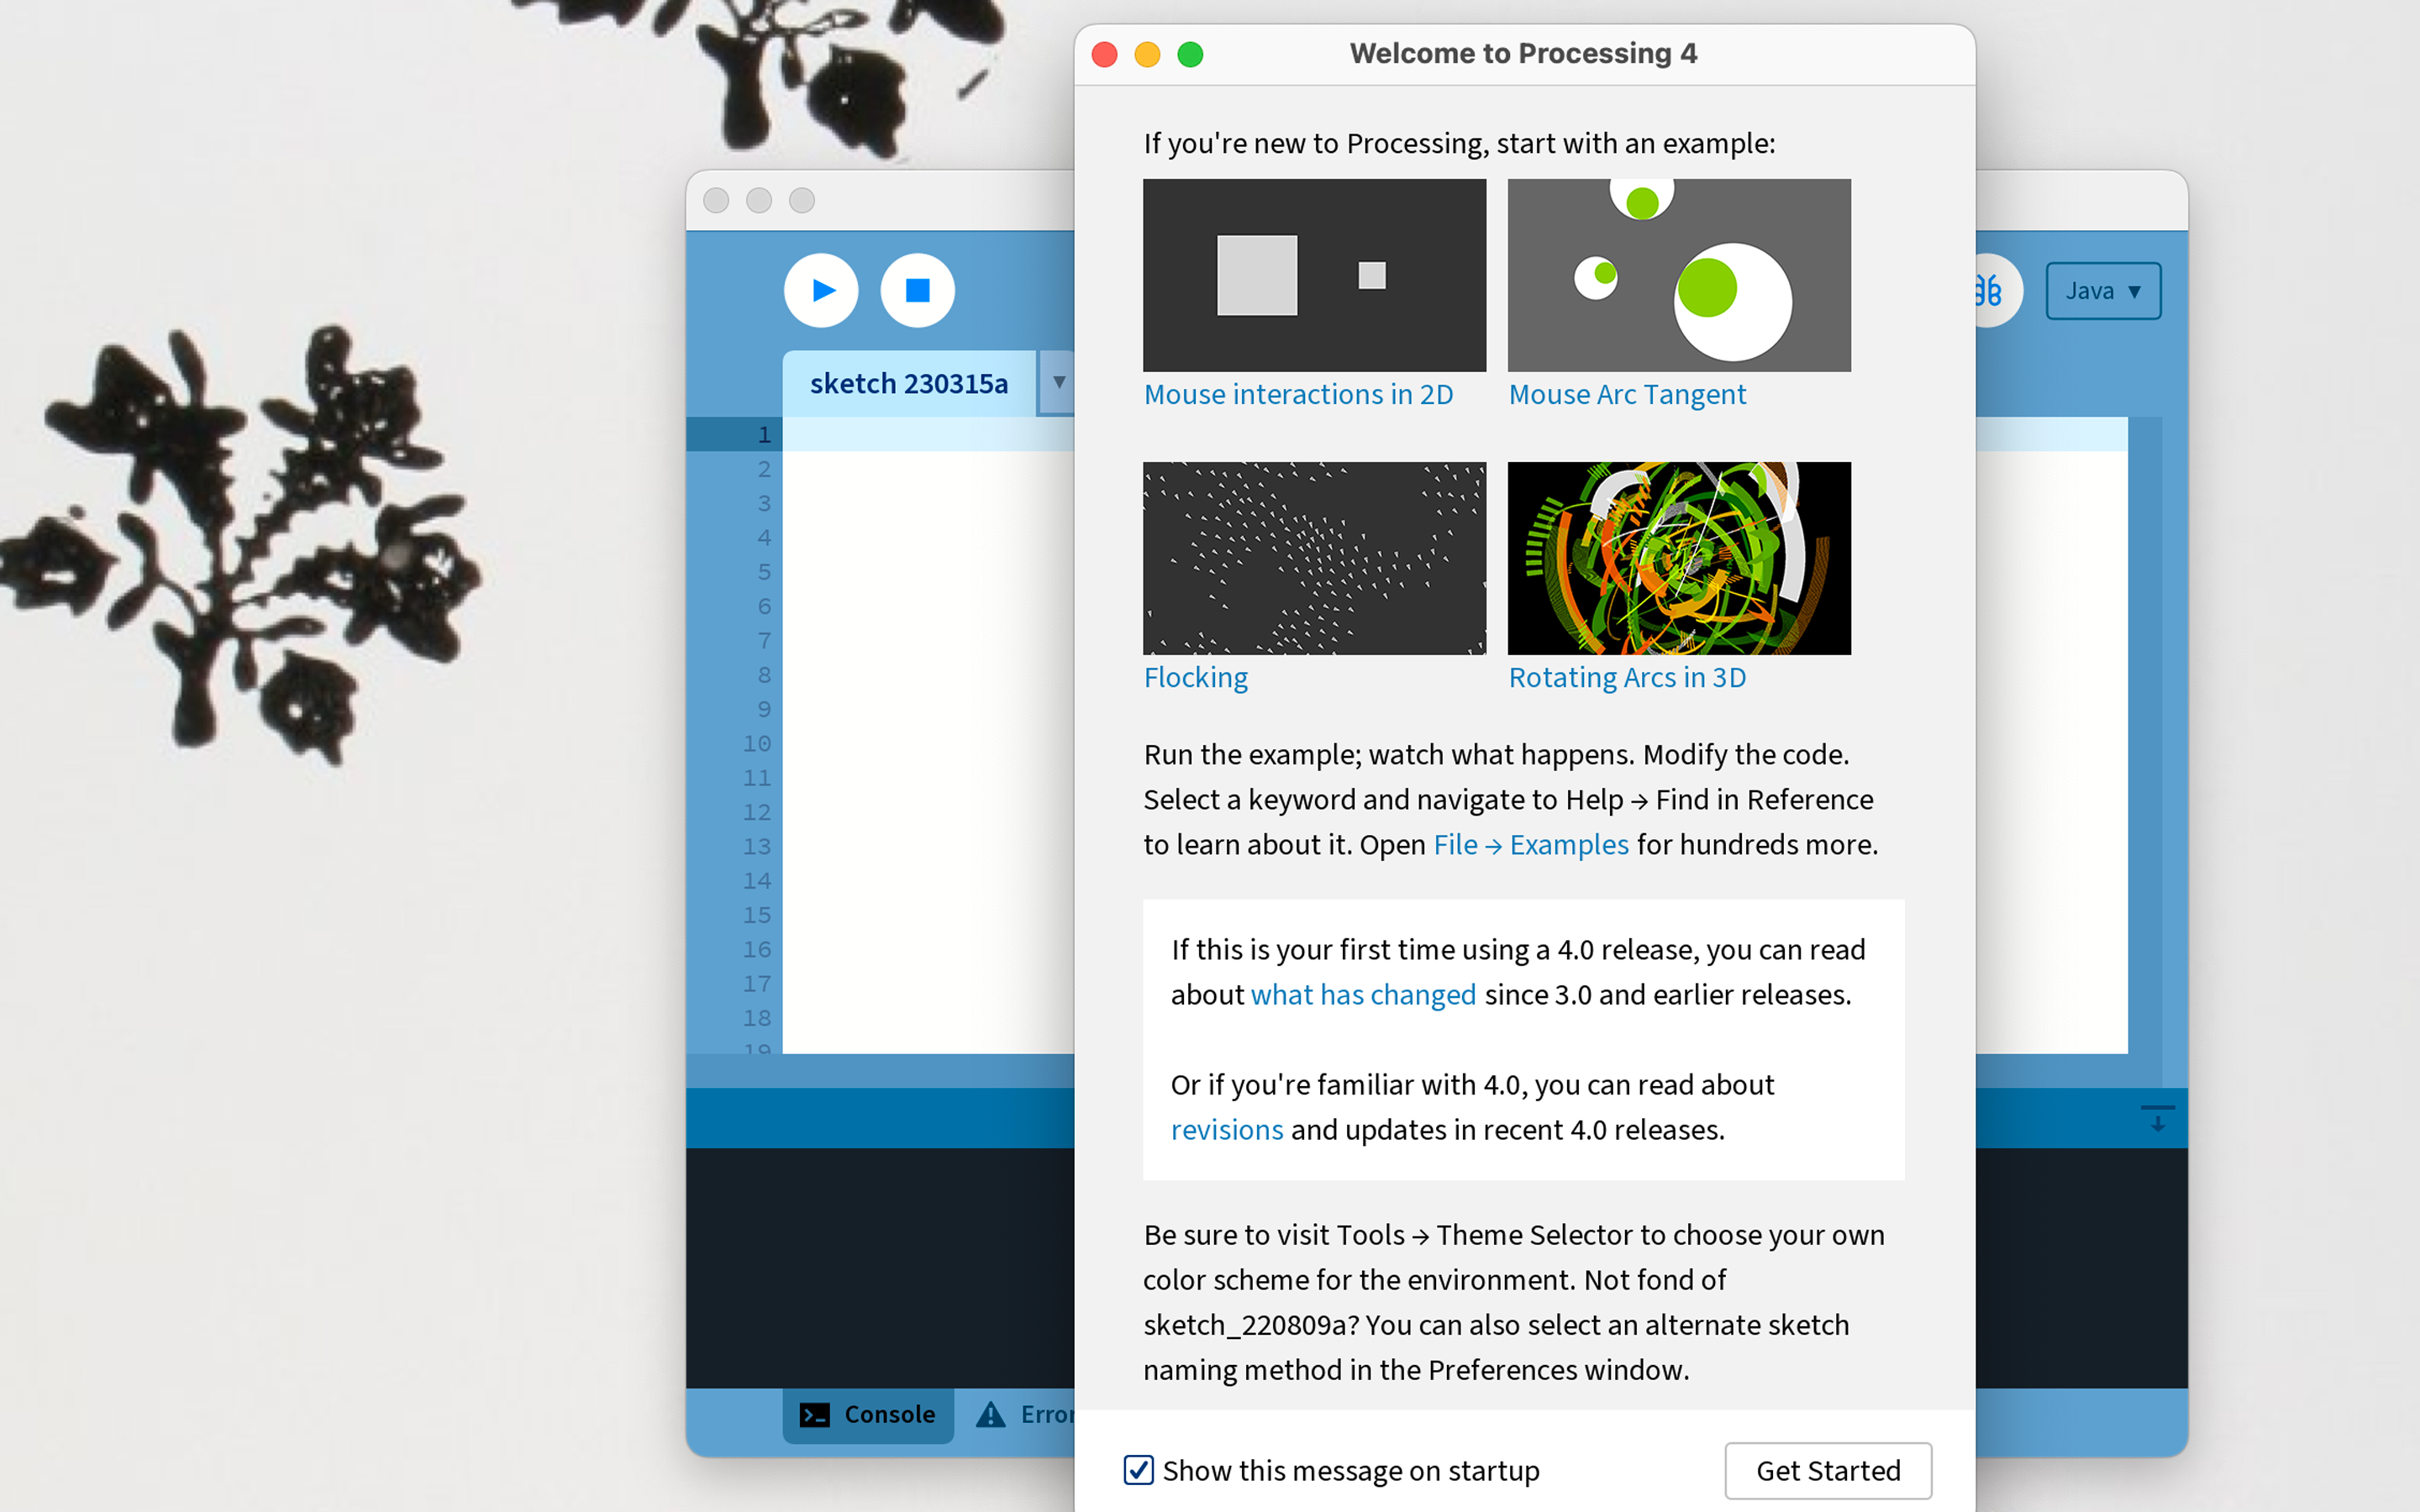
After the installation is complete, you can launch Processing by double-clicking on the Processing icon on your desktop or by navigating to the installation folder and launching the program from there.

Step 2: Run Processing Examples

Once you have Processing installed, you can start exploring some of the examples that come with the software. This will give you a better understanding of how Processing works and how you can use it to create your own projects.

1. Navigate to Examples

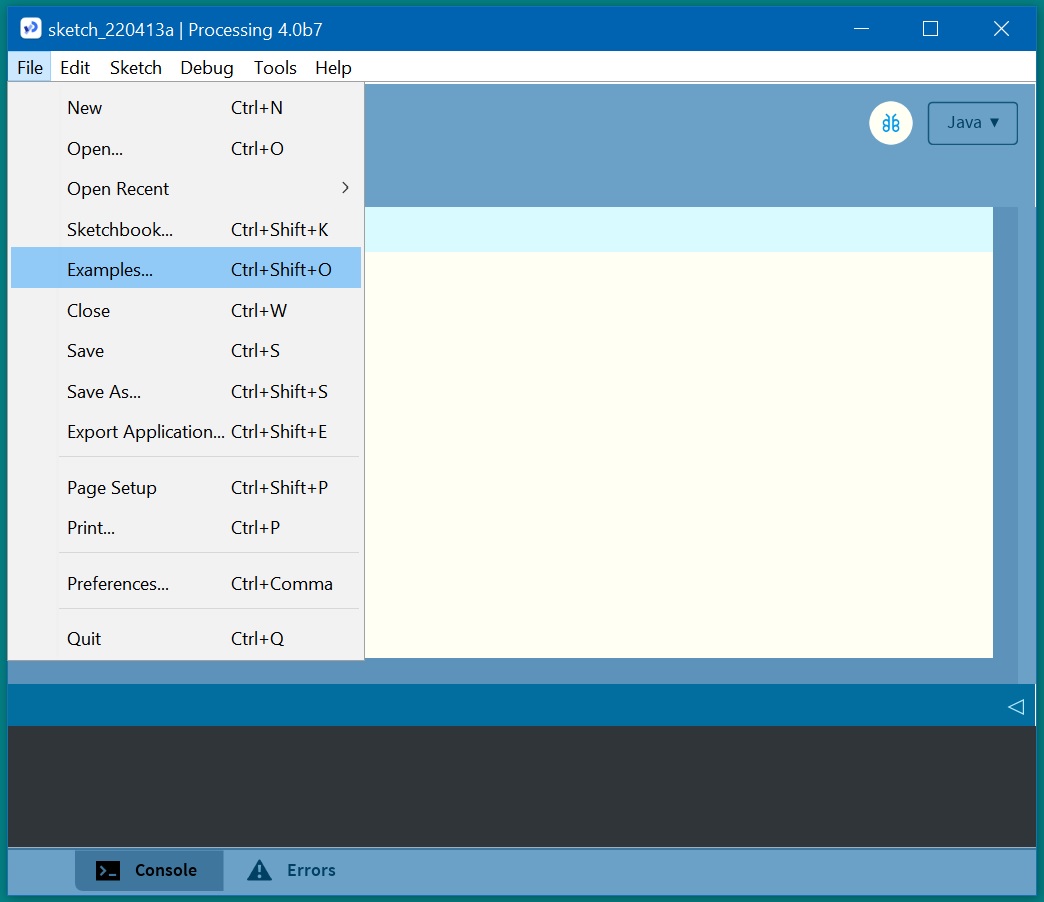
Click on the “File” menu and select “Examples” from the dropdown menu.
This will open up the Examples window.

2. Choose an Example

In the Examples window, you’ll see a list of different categories of examples. Choose the category that’s relevant to the background you want to create. For example, select Color – Brightness.

3. Run the Example

Click on the “Run” button in the top-left corner of the window. This will run the selected example and display the output in a new window.

Step 3: Modify your code

Take a look at the code for the example and experiment with changing the values of different variables to see how it affects the output. This will give you an idea of how to modify the code to create your own custom background.

The code

Here is an original example: You can draw white circles when you swipe the mouse, and you can draw black circles if you click on the left button while swiping the mouse.

				
					void setup () {
  size (480, 480);
}
void draw () {
  if  (mousePressed) {
    fill (#000000);
} else {
    fill (#FFFFFF);
}
ellipse (mouseX, mouseY, 80, 80);
}


Colors

Q: What if you want to draw colorful circles when pressing the mouse?
A: You can choose another color by opening Tools, click on Color Selector, and then click on Copy.
Finally you paste the hexadecimal number of the color to the code. The number following the hashtag # is the code of the color.

Tip:

How to paste? If you are using Windows you can use Ctrl + v, if you are using MAC you can use Cmd ⌘ + v

Shapes

Q: How to draw rectangles ?
A: You can also draw rectangles by changing the line number 11 (in our example) by :
rect(mouseX, mouseY, 80, 80);

The above instruction is to change ellipse to rectangle.
To do this, you can search “rect” in
https://processing.org/reference/

and find rect() to draw rectangle.

Functions What is a function?

In this step, we will be exploring functions and how they can help us achieve our desired effects. So, let’s dive in and learn about functions in Processing!

void

void means that this function returns no result. To see how a function works, select its name, then right-click on it and choose Find in Reference from the pop-up menu. This will open the reference for that function in your default web browser. In Processing, all functions are written in blue.

				
					void function () {
  statements
}


					void setup () {
  size (480, 480);
}

void draw () {
  if  (mousePressed) {
    fill (#000000);
  }
  else {
    fill (#FFFFFF);
  }
  ellipse (mouseX, mouseY, 80, 80);
} 


How to paste?

If you are using Windows you can use
Ctrl + v, if you are using MAC you can use Cmd ⌘ + v
To test the above code, you can either delete all the code beneath the setup () function, or add ” /* ” before “void draw() {” and ” */ ” at the very end of the code.
The piece of code between ” /* ” and ” */ ” is considered as a comment by Processing and will not be executed.
Please see the following code and the video.

Example 1. Setup function

Everything that is written inside the void setup() function will be executed only once just after you click on the run button.

For example, the following code displays a 480 pixels by 480 pixels frame where you will be able to draw in.

				
					void setup () {
  size (480, 480); 
 // Sets the size of the frame to 480 pixels by 480 pixels
}


Example 2. Draw function

The draw () function will keep drawing until you close the window.

				
					/* void draw() {   
	everything that is written here will be executed
	continuously until you close the frame…
 } */

void draw() {   
	if (mousePressed) {     
		fill(0);   
	} else {    
 		fill(255);   
	}  
 	ellipse(mouseX, mouseY, 80, 80);
 } 


1. SAVE YOUR SKETCH

You first need to save your sketch by clicking on File – Save, and then choose a place, just as in the following video.

2.SAVE YOUR BACKGROUND

Then you can save the drawings. The saveFrame() function saves the drawings, and each time when you press the key, keyPressed() will run to call saveFrame() save the drawings.

If you add the following code at the end and run, and press any key when you see the drawings, then the drawings will be saved (see the following video).

				
					void keyPressed() {
  saveFrame(); // Save the frame when a key is pressed
}


Go further

Now that you have learned how to create a custom background for your YouTube videos using Processing, there are many ways you can take your skills further. 

How to change the size of drawings to create a wallpaper for your computer?

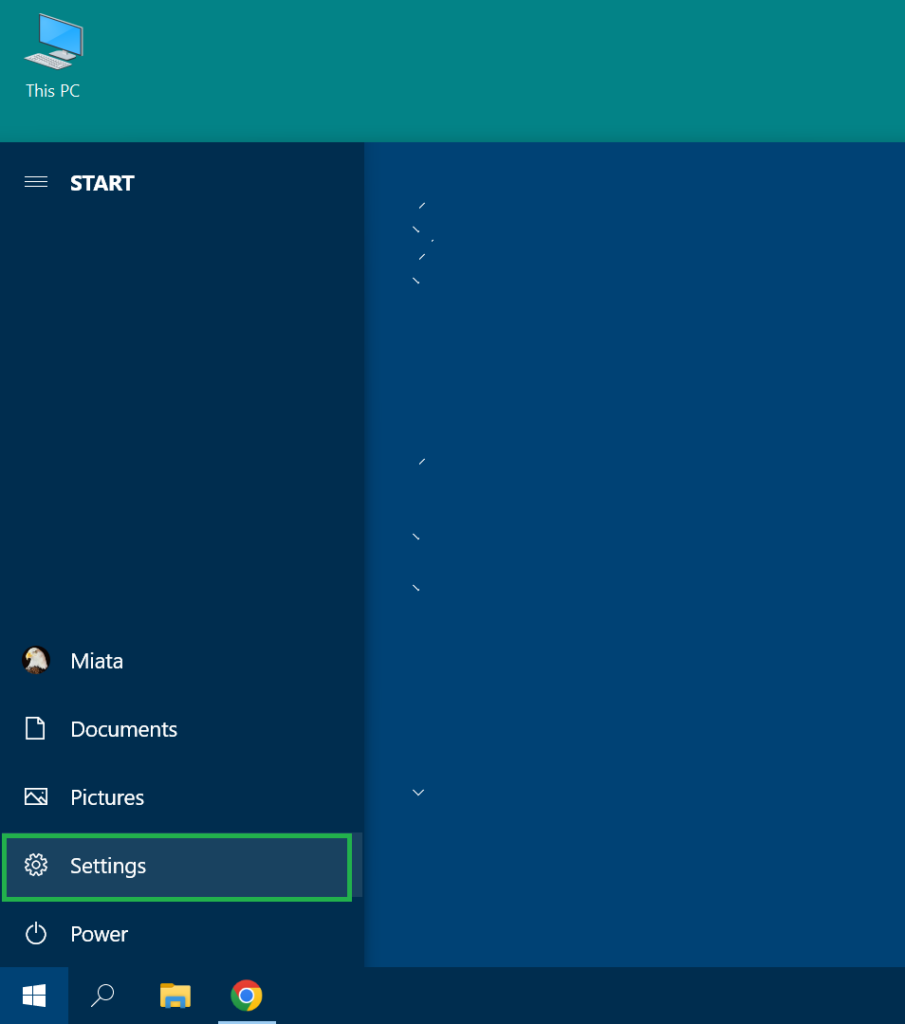
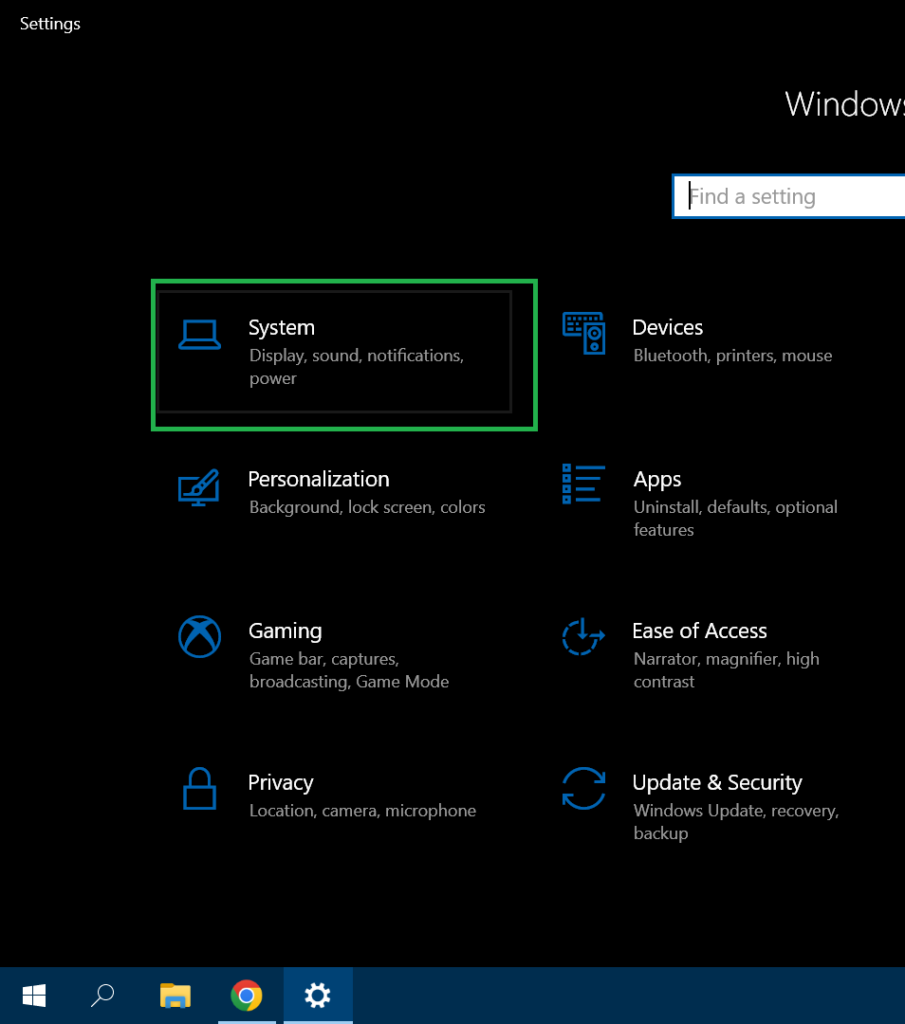
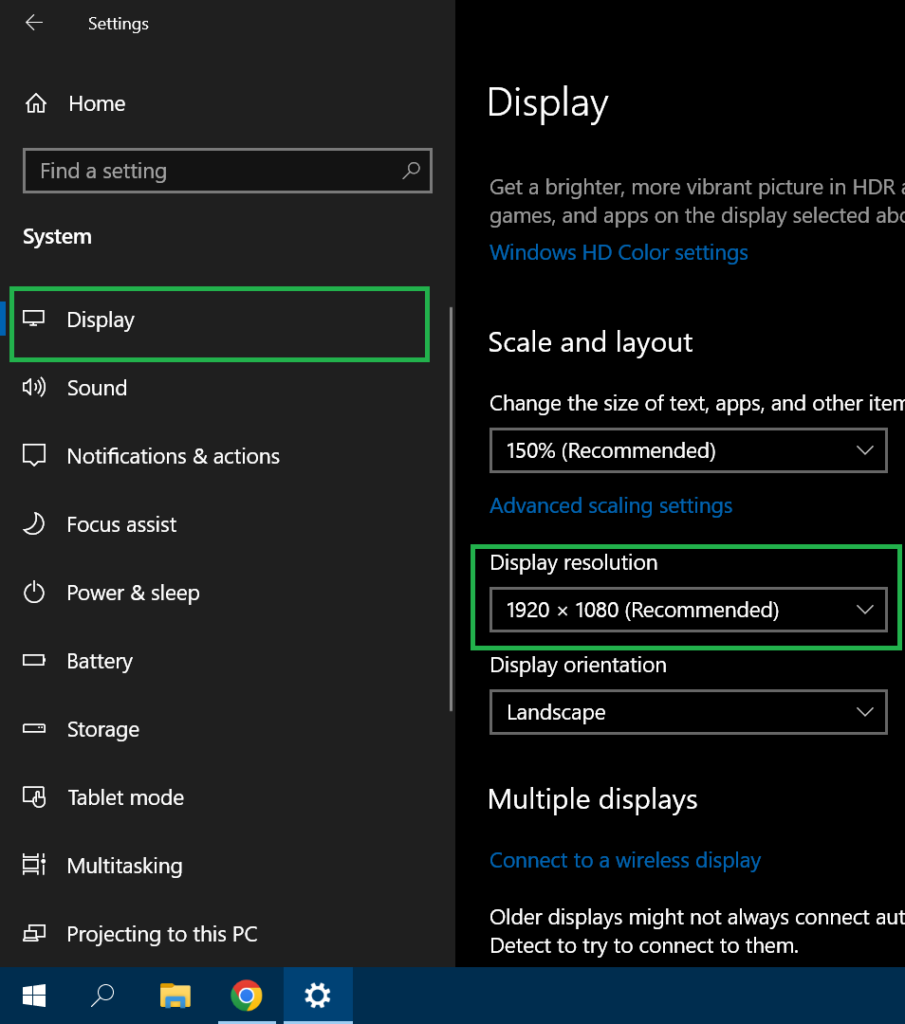
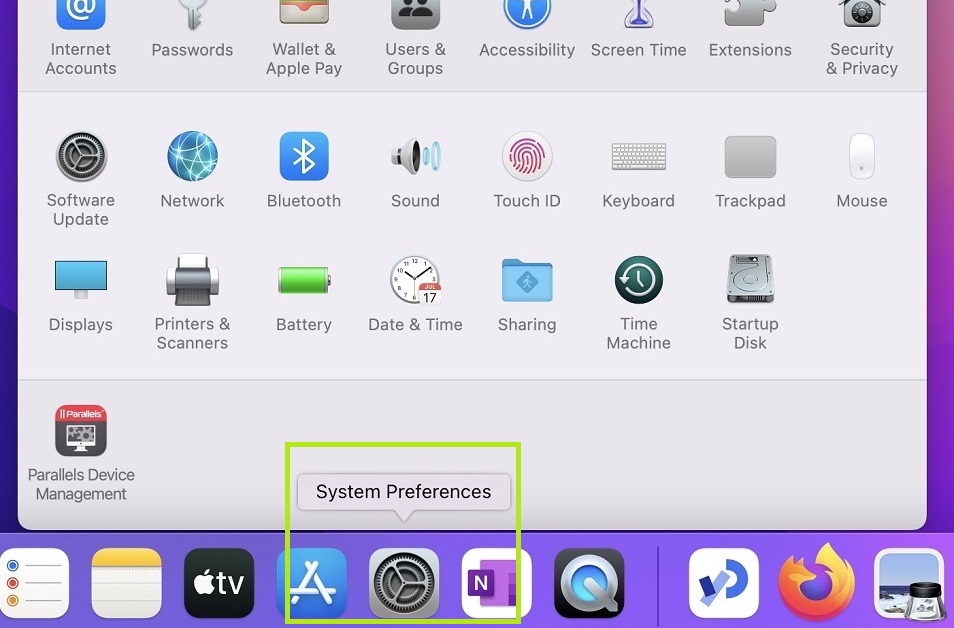
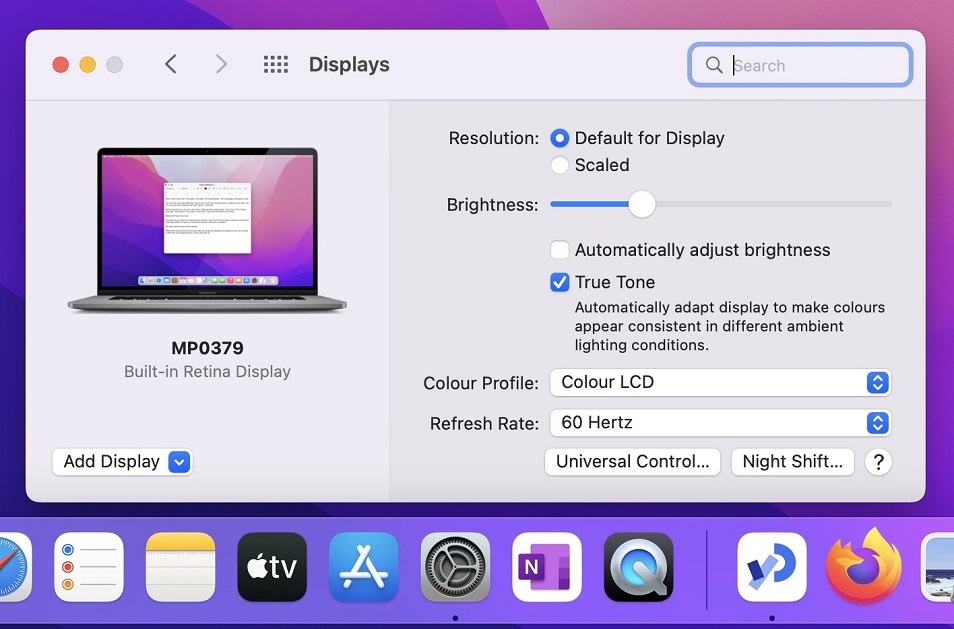
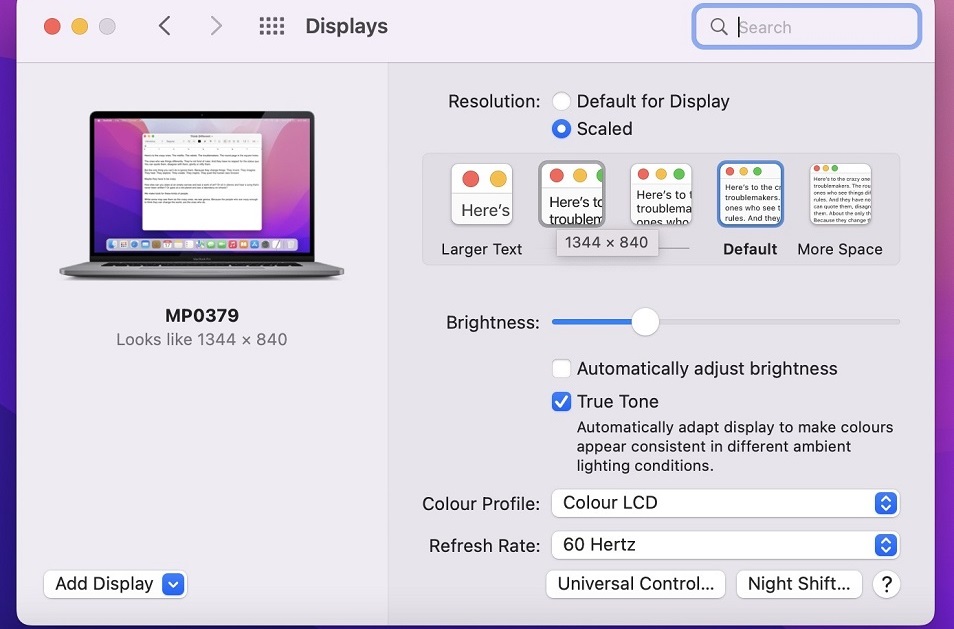
The following images shows where to find the size of your screen. The video will show you how to change the size of the drawings according to its size. First click on the windows icon, then click on the gear, choose System, and then Display, and write down the size of your screen in Display resolution.

Windows

mac OS

Windows

mac OS

Some popular sizes of images/videos

If you want to create a background for your social media videos or posts, you need to find the correct size. You can search for the size of your screen in your favorite web search engine as in the following image.

Snapchat:

1080 pixels wide by 1920 pixels tall

Instagram:

for videos: 1080 pixels wide by 1920 pixels tall,
for images: 1080 pixels wide by 1080 pixels tall

YouTube:

HD 1280 pixels wide by 720 pixels tall
Full HD 1920 pixels wide by 1080 pixels tall
Quad HD (2K) 2560 pixels wide by 1440 pixels tall
Ultra HD (4K) 3840 pixels wide by 2160 pixels tall

TikTok:

1080 pixels wide by 1920 pixels tall

Common Mobile screen sizes

480 pixels wide by 800 pixels tall
640 pixels wide by 1136 pixels tall
720 pixels wide by 1280 pixels tall
750 pixels wide by 1334 pixels tall
1080 pixels wide by 1920 pixels tall
1440 pixels wide by 2560 pixels tall

				
					// Tutorial used: https://processing.org/examples/sinewave.html


int xspacing = 1;   // How far apart should each horizontal location be spaced
int w = 90;              // Width of entire wave

float theta = 0.0;  // Start angle at 0
float amplitude = 3.0;  // Height of wave
float period = 27.0;  // How many pixels before the wave repeats
float dx;  // Value for incrementing X, a function of period and xspacing
float[] yvalues;  // Using an array to store height values for the wave

float x;
float y;
float headheight = 80.0;
float eyesize = 12.0;
float bodyheight = 70.0;
float ghostwidth = 90.0;

float r, g, b;

int count = 0;

void setup() {
  size(200, 200);
  dx = (TWO_PI / period) * xspacing;
  yvalues = new float[w/xspacing];
}

void draw() {
  background(200);
  x = mouseX;
  y = mouseY;
  drawGhost();
  calcWave();
  renderWave();
  if(count++ % 20 == 0) {
    changeColor();
  }
}

void drawGhost() {
  float left = x - ghostwidth/2;
  stroke(r, g, b);
  fill(200);
  arc(x, y, ghostwidth, headheight, PI, 2*PI, OPEN);
  ellipse(x-20, y, eyesize, eyesize);
  ellipse(x+20, y+2, eyesize, eyesize);
  line(left, y, left, y+bodyheight);
  line(left+ghostwidth, y, left+ghostwidth, y+bodyheight);
}

void calcWave() {
  theta += 0.08;
  float x = theta;
  for (int i = 0; i < yvalues.length; i++) {
    yvalues[i] = sin(x)*amplitude;
    x+=dx;
  }
}

void renderWave() {
  float left = x - ghostwidth/2;
  float helpy = y+bodyheight+amplitude;
  stroke(r, g, b);
  line(left, helpy+yvalues[0], left, y+bodyheight); 
  noStroke();
  fill(r, g, b);
  for (int x = 0; x < yvalues.length; x++) {
    ellipse(left+1+x*xspacing, helpy+yvalues[x], 1, 1);
  }
  stroke(r, g, b);
  line(left+ghostwidth, helpy+yvalues[yvalues.length-1], 
  left+ghostwidth, y+bodyheight); 
}

void changeColor() {
  r = random(256);
  g = random(256);
  b = random(256);
}


With these steps, you'll be able to create a custom background that reflects your unique style and helps your YouTube channel stand out.

Feedback Form

Great job on completing the tutorial!
We would love to hear your thoughts on how we can make it even better.