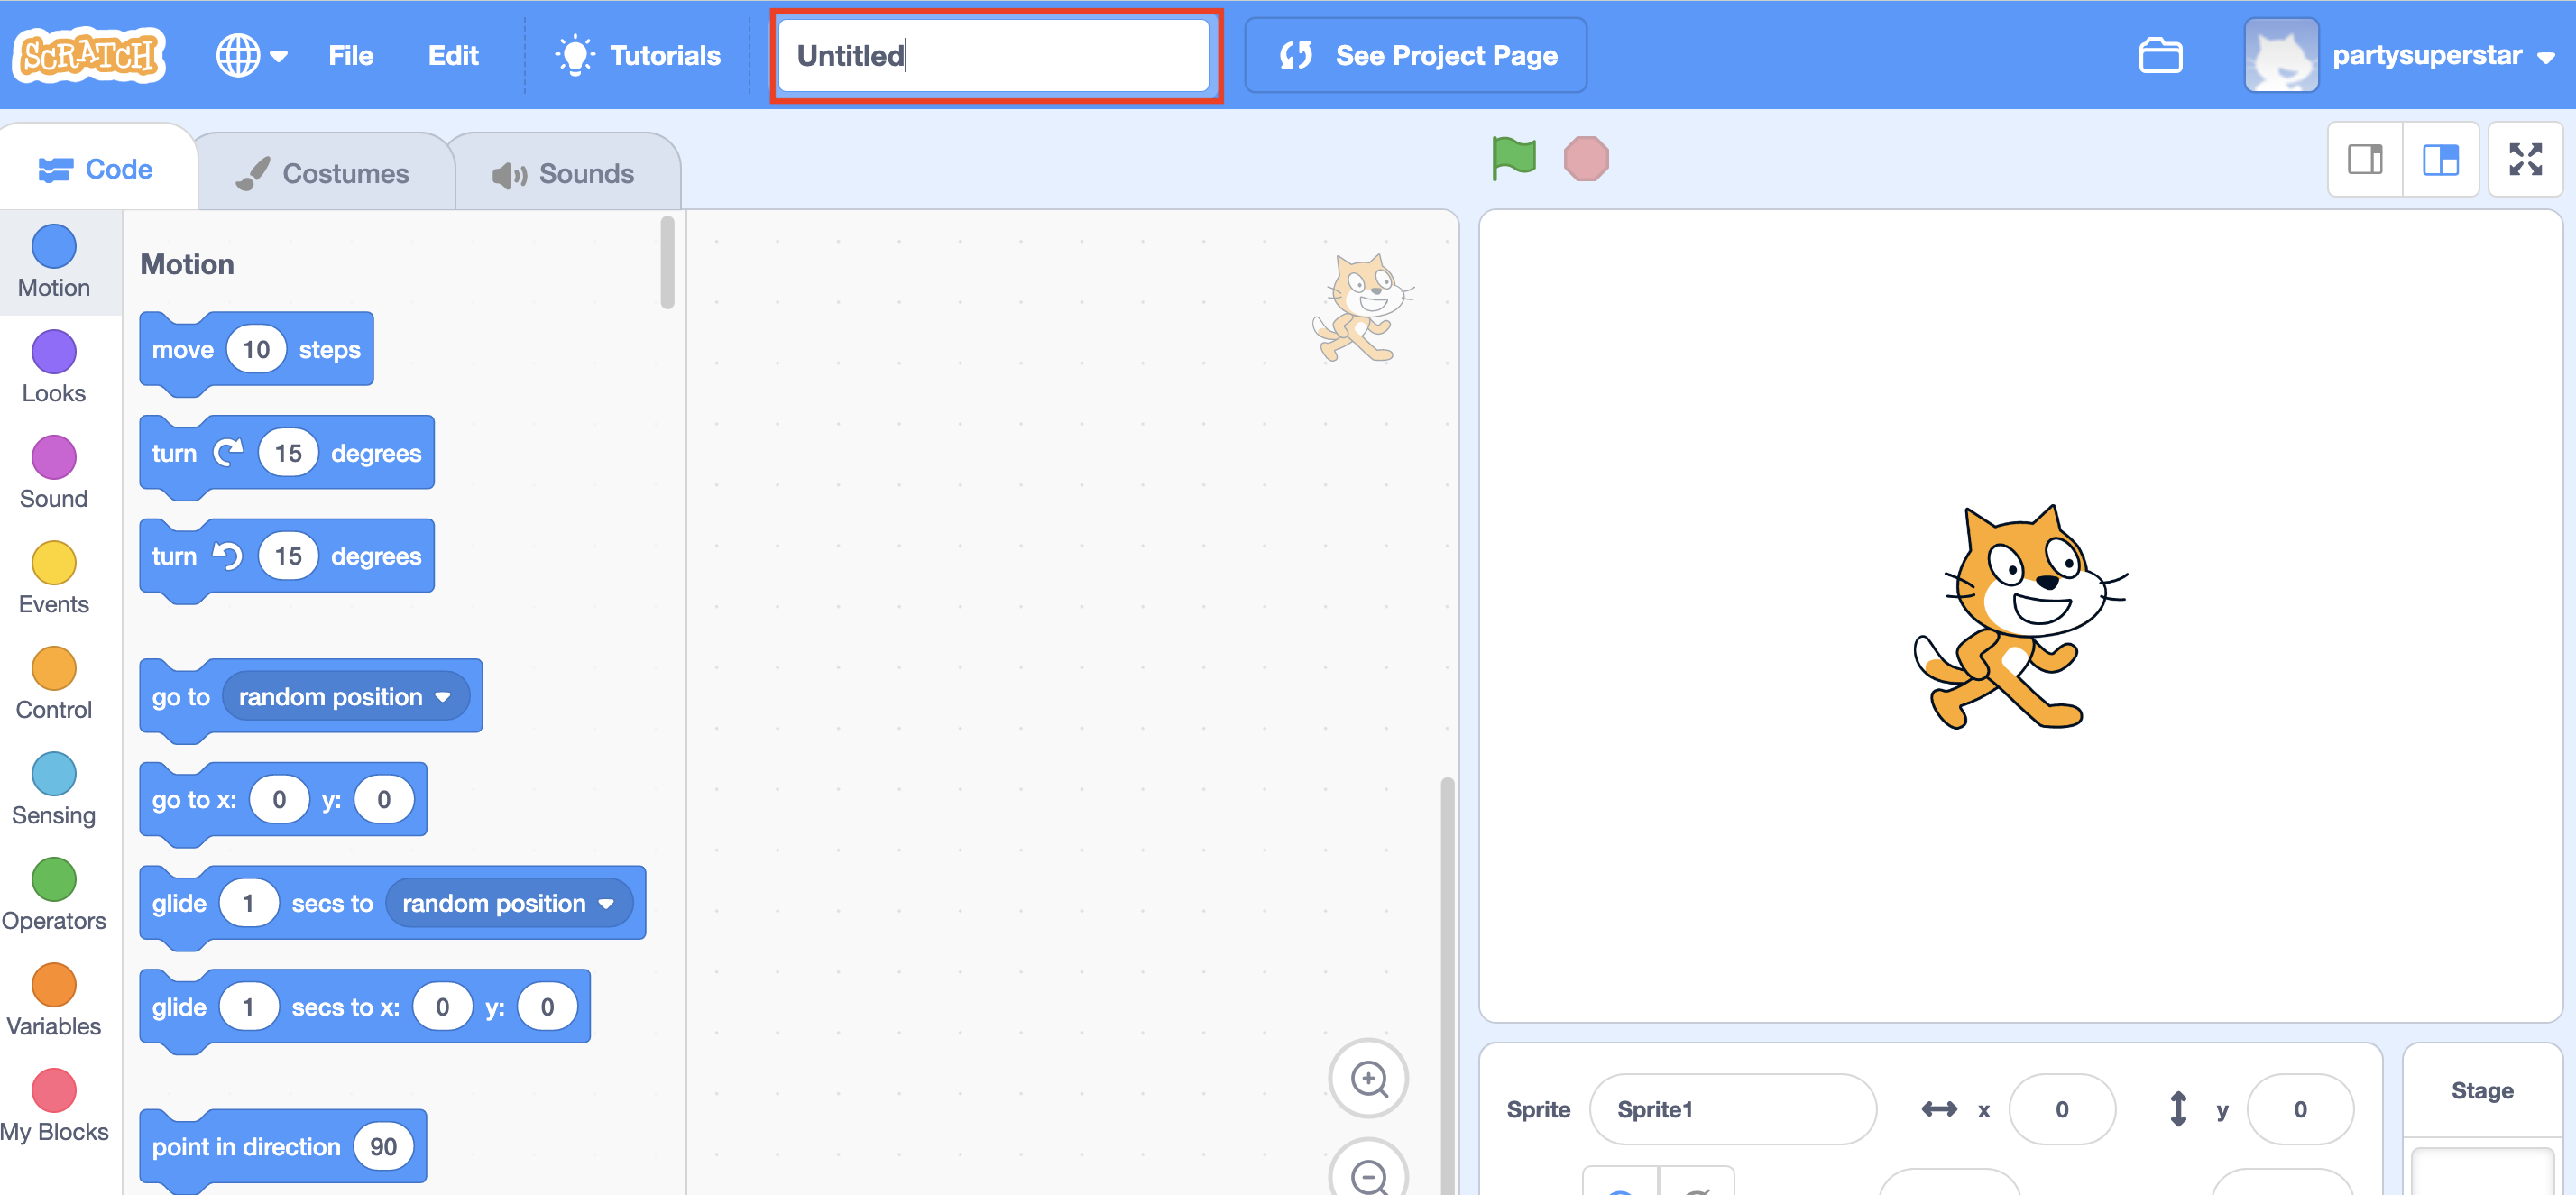
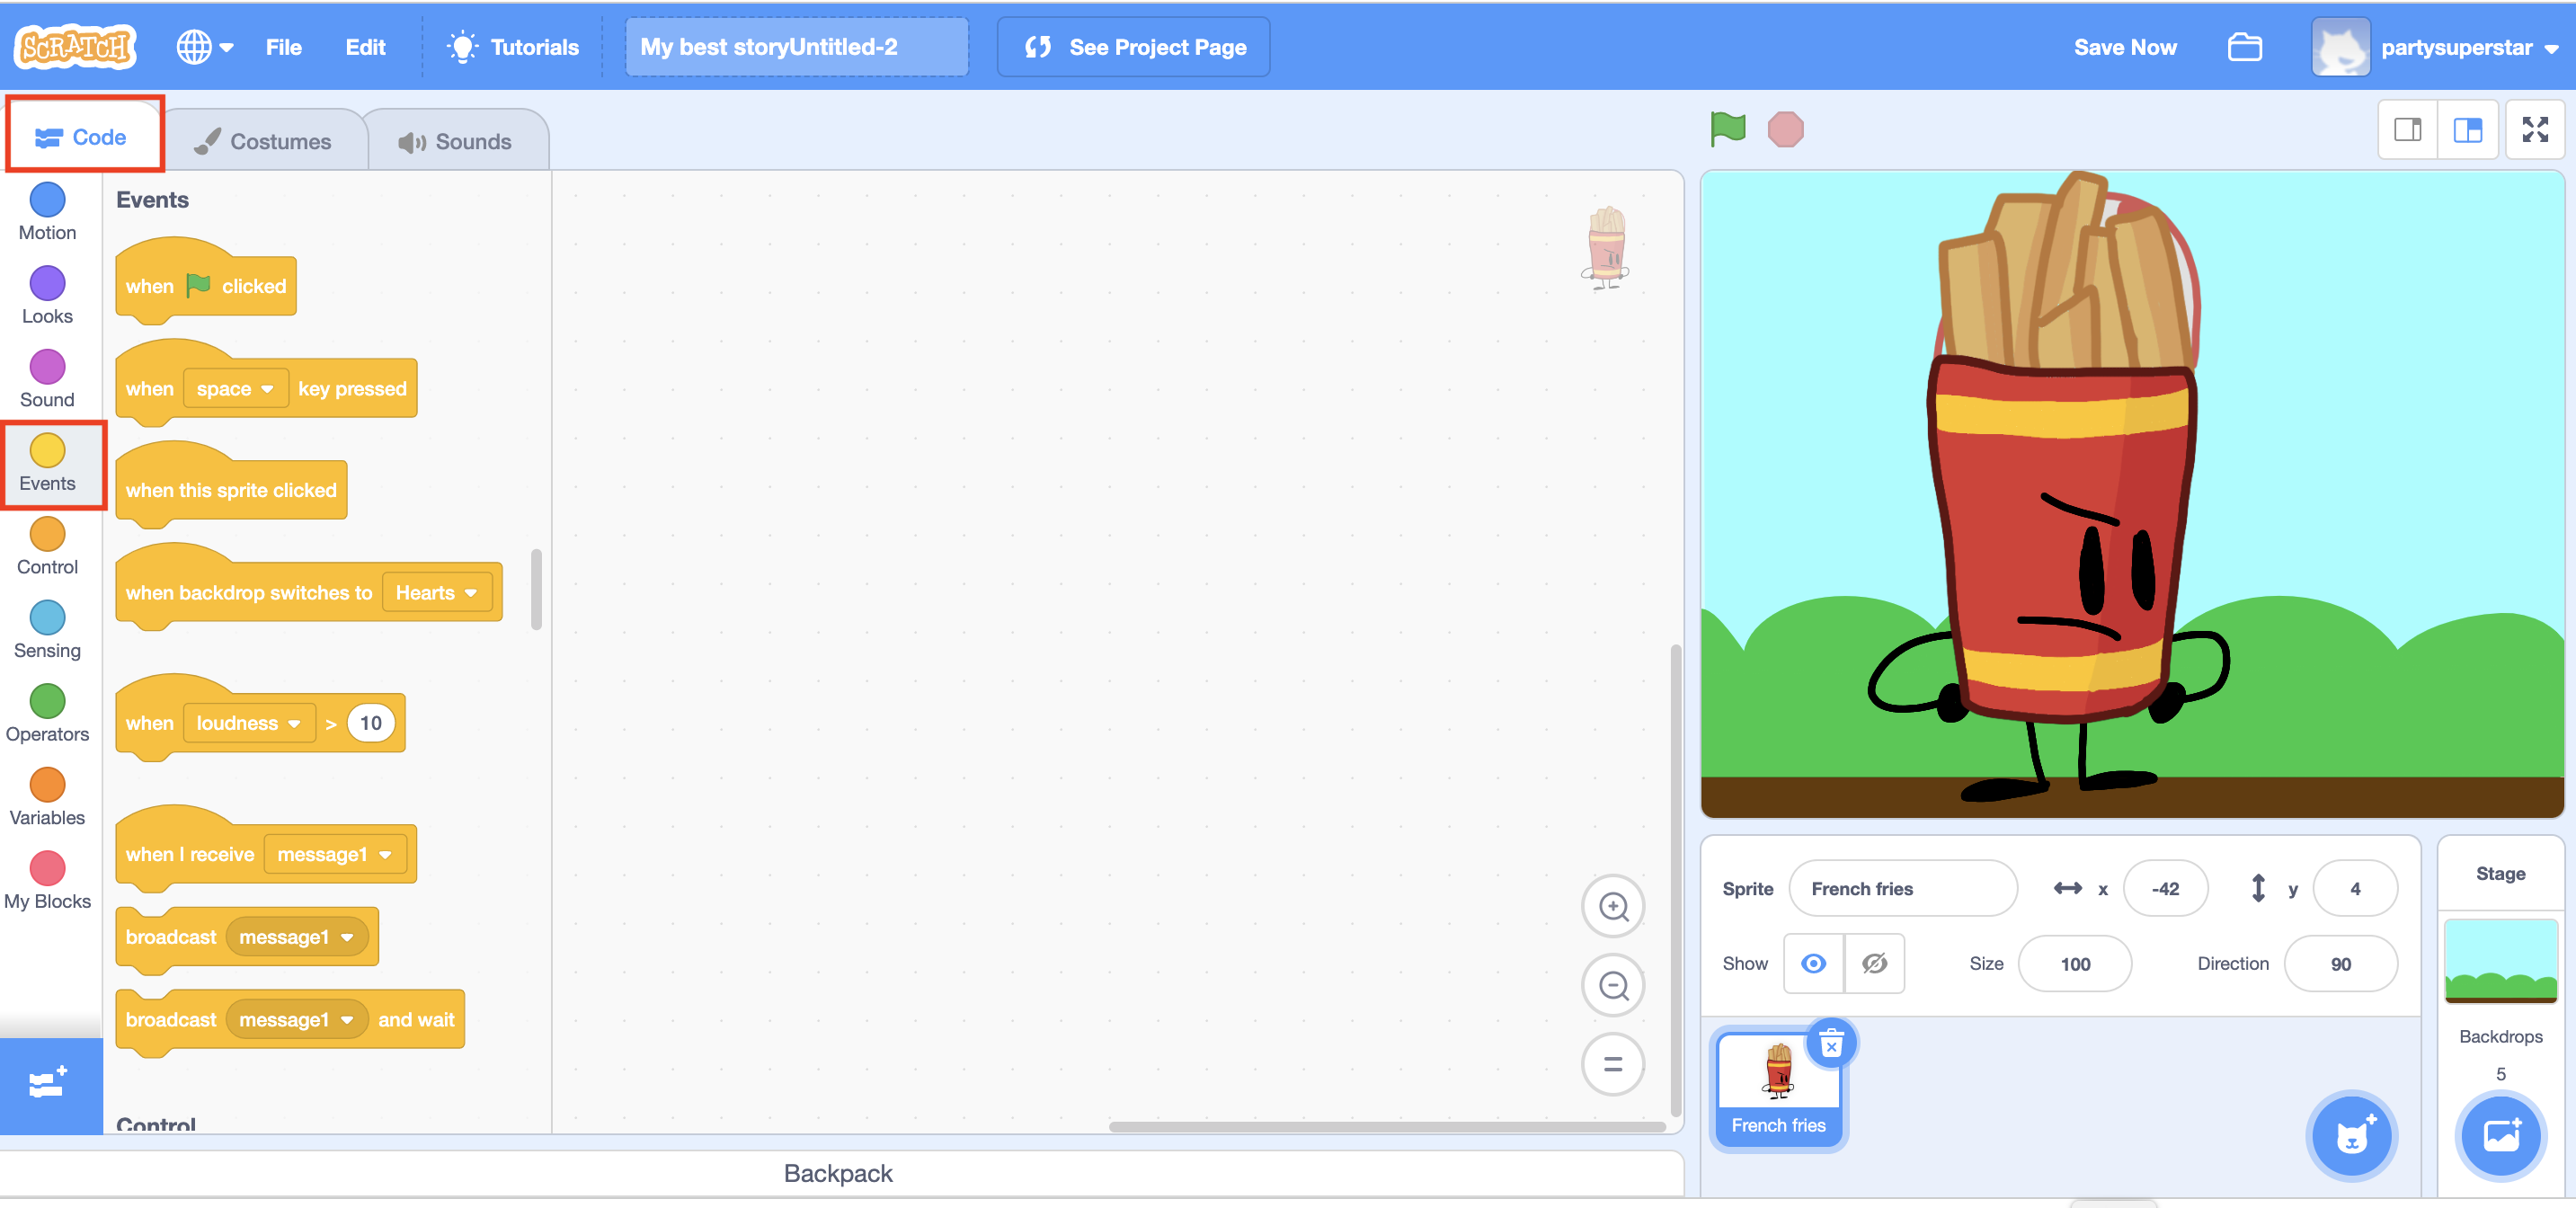
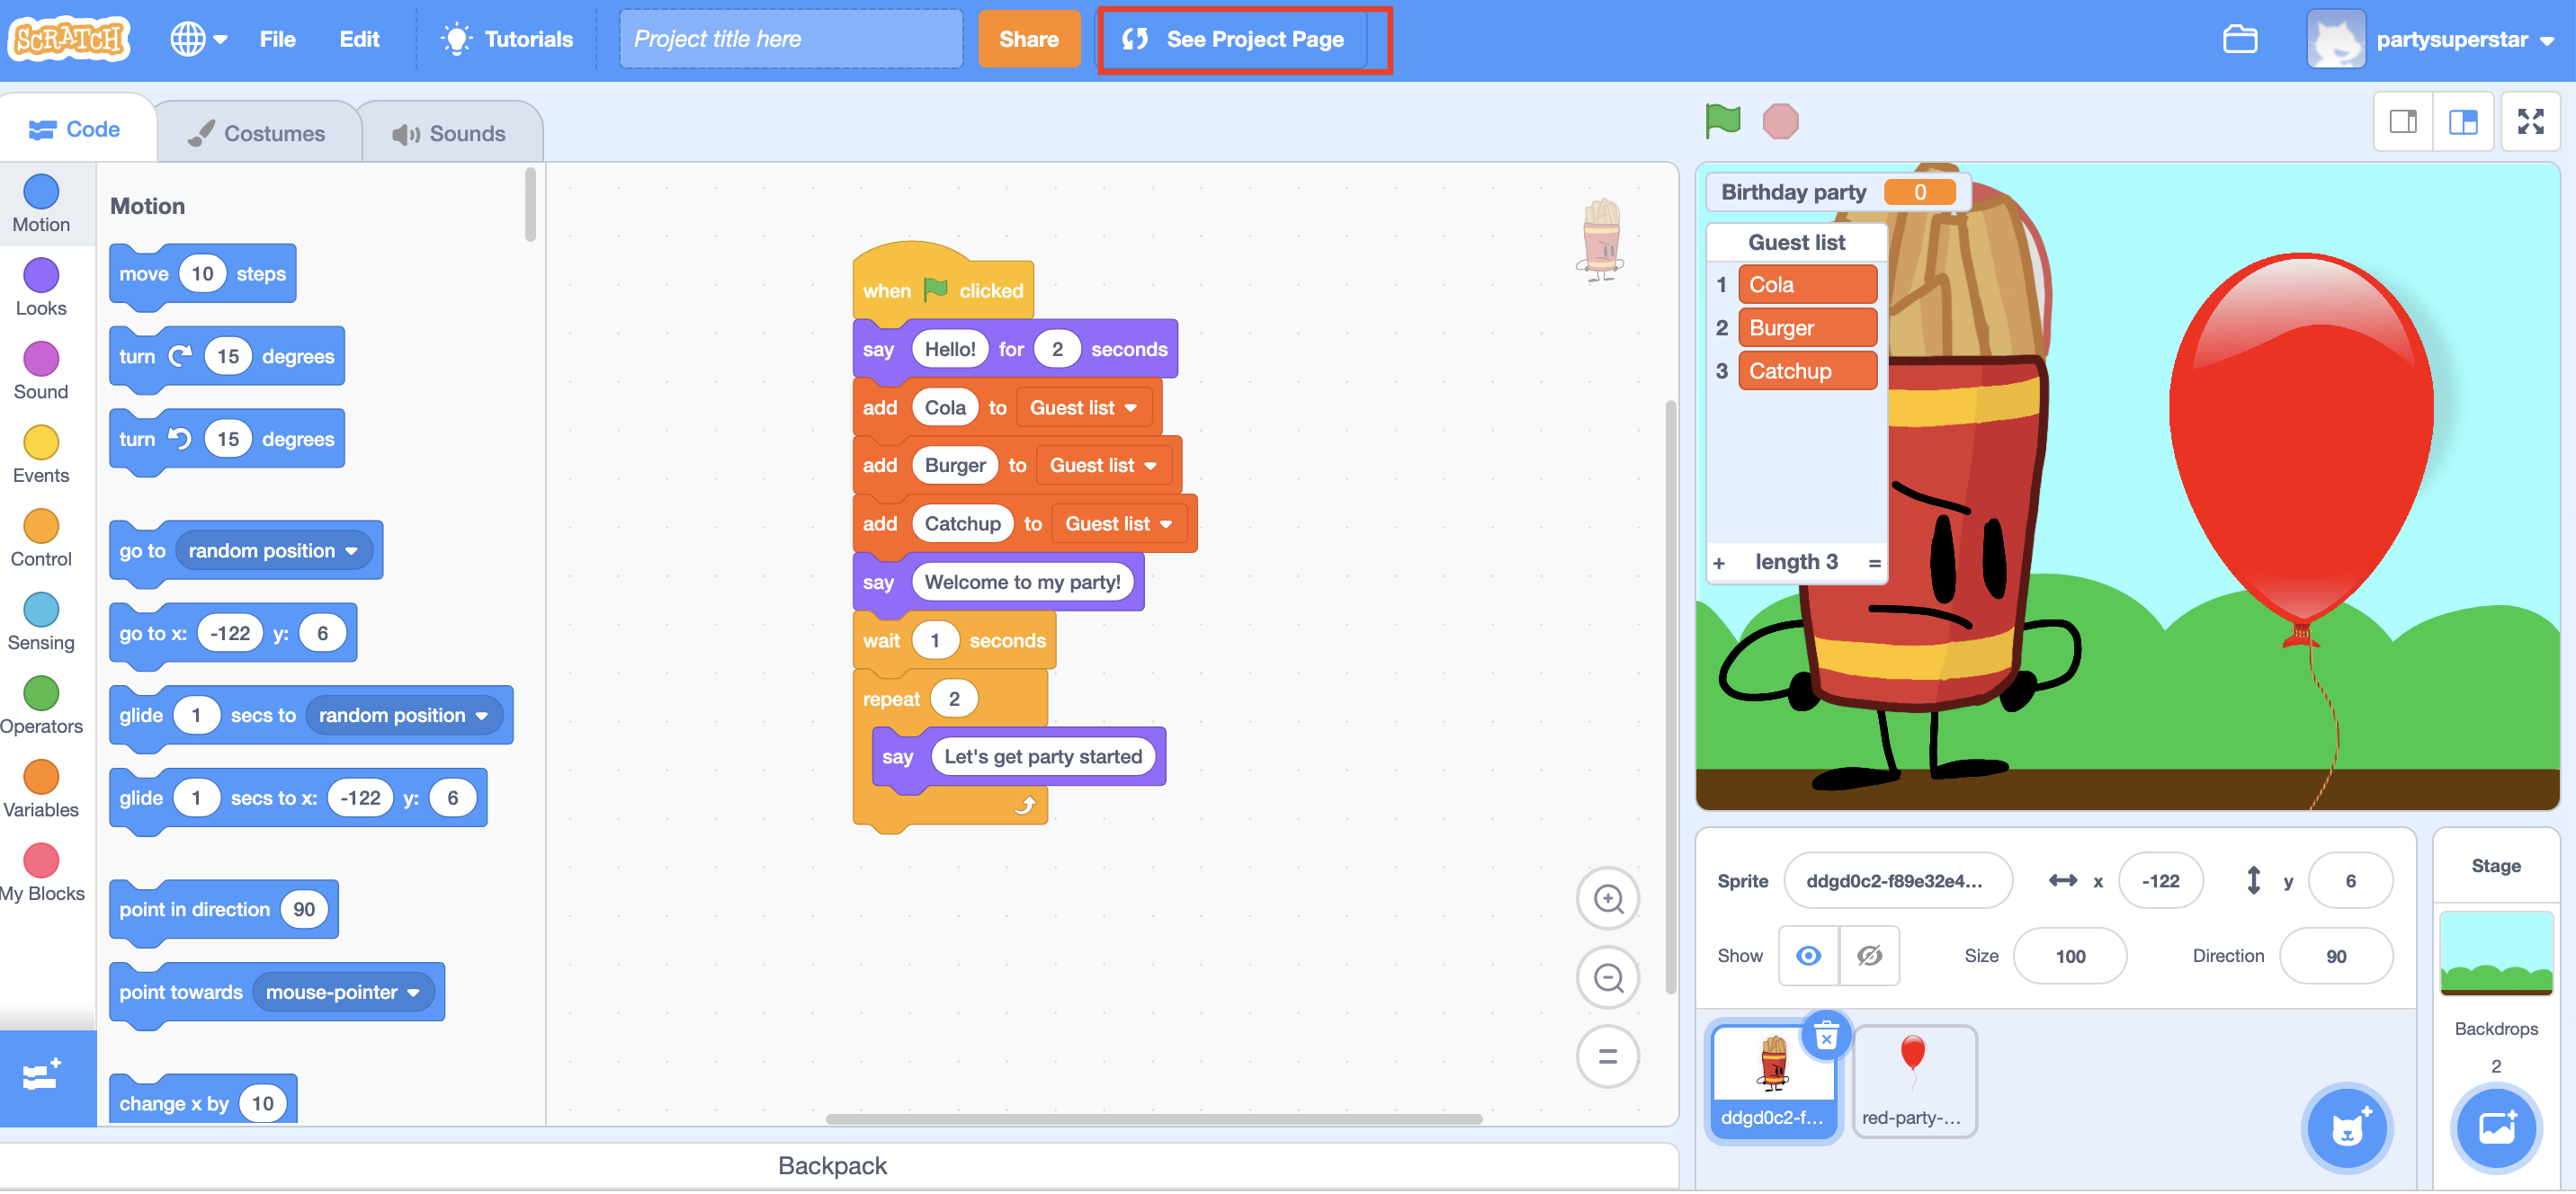
SCRATCH: story telling in Scratch

Are you interested in creating your own interactive stories and animations? In this tutorial, we will explore how to use Scratch to tell a story. Scratch is a visual programming language perfect for beginners but powerful enough for advanced projects.

Step 1: GET STARTED WITH SCRATCH

First, you’ll need to go to the Scratch website and create an account. It’s free and easy to do. Once you’ve created your account, you’ll be taken to the Scratch homepage. Here, you can explore other projects, but for now, let’s focus on creating our own.

1. Go to the Scratch website

Open up your preferred web browser and go to the Scratch website

2. Join Scratch

Click on the “Join Scratch” button in the top-right corner of the page.

3. Fill out

Fill out the registration form with your desired username, password, and email address. You can also add an avatar image if you like.

4. Get Started

Click on the “Join Scratch” button at the bottom of the registration form to create your account.

Step 2: CREATE A NEW PROJECT

You’ll learn how to create a new project in Scratch and get started on your story-telling adventure. With a blank canvas in front of you, the possibilities are endless. Let’s dive in!

Watch the video

1. Create a new project

After creating your account, click on the “Create” button on the top left corner of the Scratch homepage.

2. Create a name

You will be taken to the “New Project” page. Here, you can choose a name for your project.

3. backdrop

Select a backdrop from the library or upload your own.

4. Save now

Don’t forget to save your project regularly by clicking on the “Save” button on the top right corner of the screen.

Step 3: CREATE CHARACTERS

Characters are an essential part of any story and they bring it to life. In Scratch, you can create your own characters using the built-in sprite editor. So, let’s get started!

WATCH THE VIDEO

1. Choose a Sprite

Click on the “Choose a Sprite” button on the left-hand side of the screen.

2. Paint New Sprite

Browse through the library of sprites that Scratch offers, or create your own by clicking on the “Paint New Sprite” button.

3. change the color, size, and shape

Use the paint editor to design your own sprite. You can change the color, size, and shape of your sprite. Don’t forget to name your sprite by clicking on the “i” button.

Once you’re happy with your sprite, add it to the stage by dragging and dropping it onto the stage area.

4. Repeat the steps

Repeat the steps above to create any additional characters that you want to include in your story.

Remember, your characters don’t have to be complex or detailed.

Even simple shapes or stick figures can work well in a story if you give them a personality and make them interesting.

Have fun creating your characters and bringing them to life in your story!

Step 4: ADD INTERACTIVITY

By adding interactivity to your project, you can create a more engaging and immersive experience for your users. You’ll cover the basics of adding interactivity using Scratch’s block programming language. 

Watch the video

You have added interactivity to your Scratch project.
With the ability to add interactivity, your story becomes more engaging and user-friendly.
Keep experimenting with different types of interactivity to make your project even better.

1. How to start

Go to the “Code”.
Click on the “Events” tab located in the upper-left corner of the screen.

2. Create trigger

To trigger an event when the user clicks on a sprite, drag a “when this sprite clicked” block from the Events menu onto the script area.

3. Choose the action

Choose the desired action you want to occur when the sprite is clicked. For example, you can make the sprite say something or change color.

or move to a different location on the screen

4. Variables

In Scratch, variables are like containers that can hold different types of information, such as numbers, text, or even other blocks of code. They are useful for storing and manipulating data that might change over time or in response to user input.
Let’s say you are creating a Scratch project for your friend’s birthday party, and you want to create an invite list that will show the names of all the guests invited to the party. You can use variables to store and display the names of the guests.

Create Variables

First, create a sprite for the birthday party invitation, and then create a new variable by clicking on the “Data” tab and selecting “Make a Variable”. Name the variable “Birthday party”.

Name Variables

Name your variable and choose its type (e.g., “number” or “text”). After create the list and name it “Guest list”

Now, create a new sprite for each guest by duplicating the first sprite and giving each sprite a different name. For example, you could create sprites called “Catchup”, “Cola”, and “Burger”.  

On each sprite, create a “when clicked” block and a “broadcast” block from the “Events” tab. Name the broadcast message after the guest’s name, such as “Cola Invited”.

5. Events

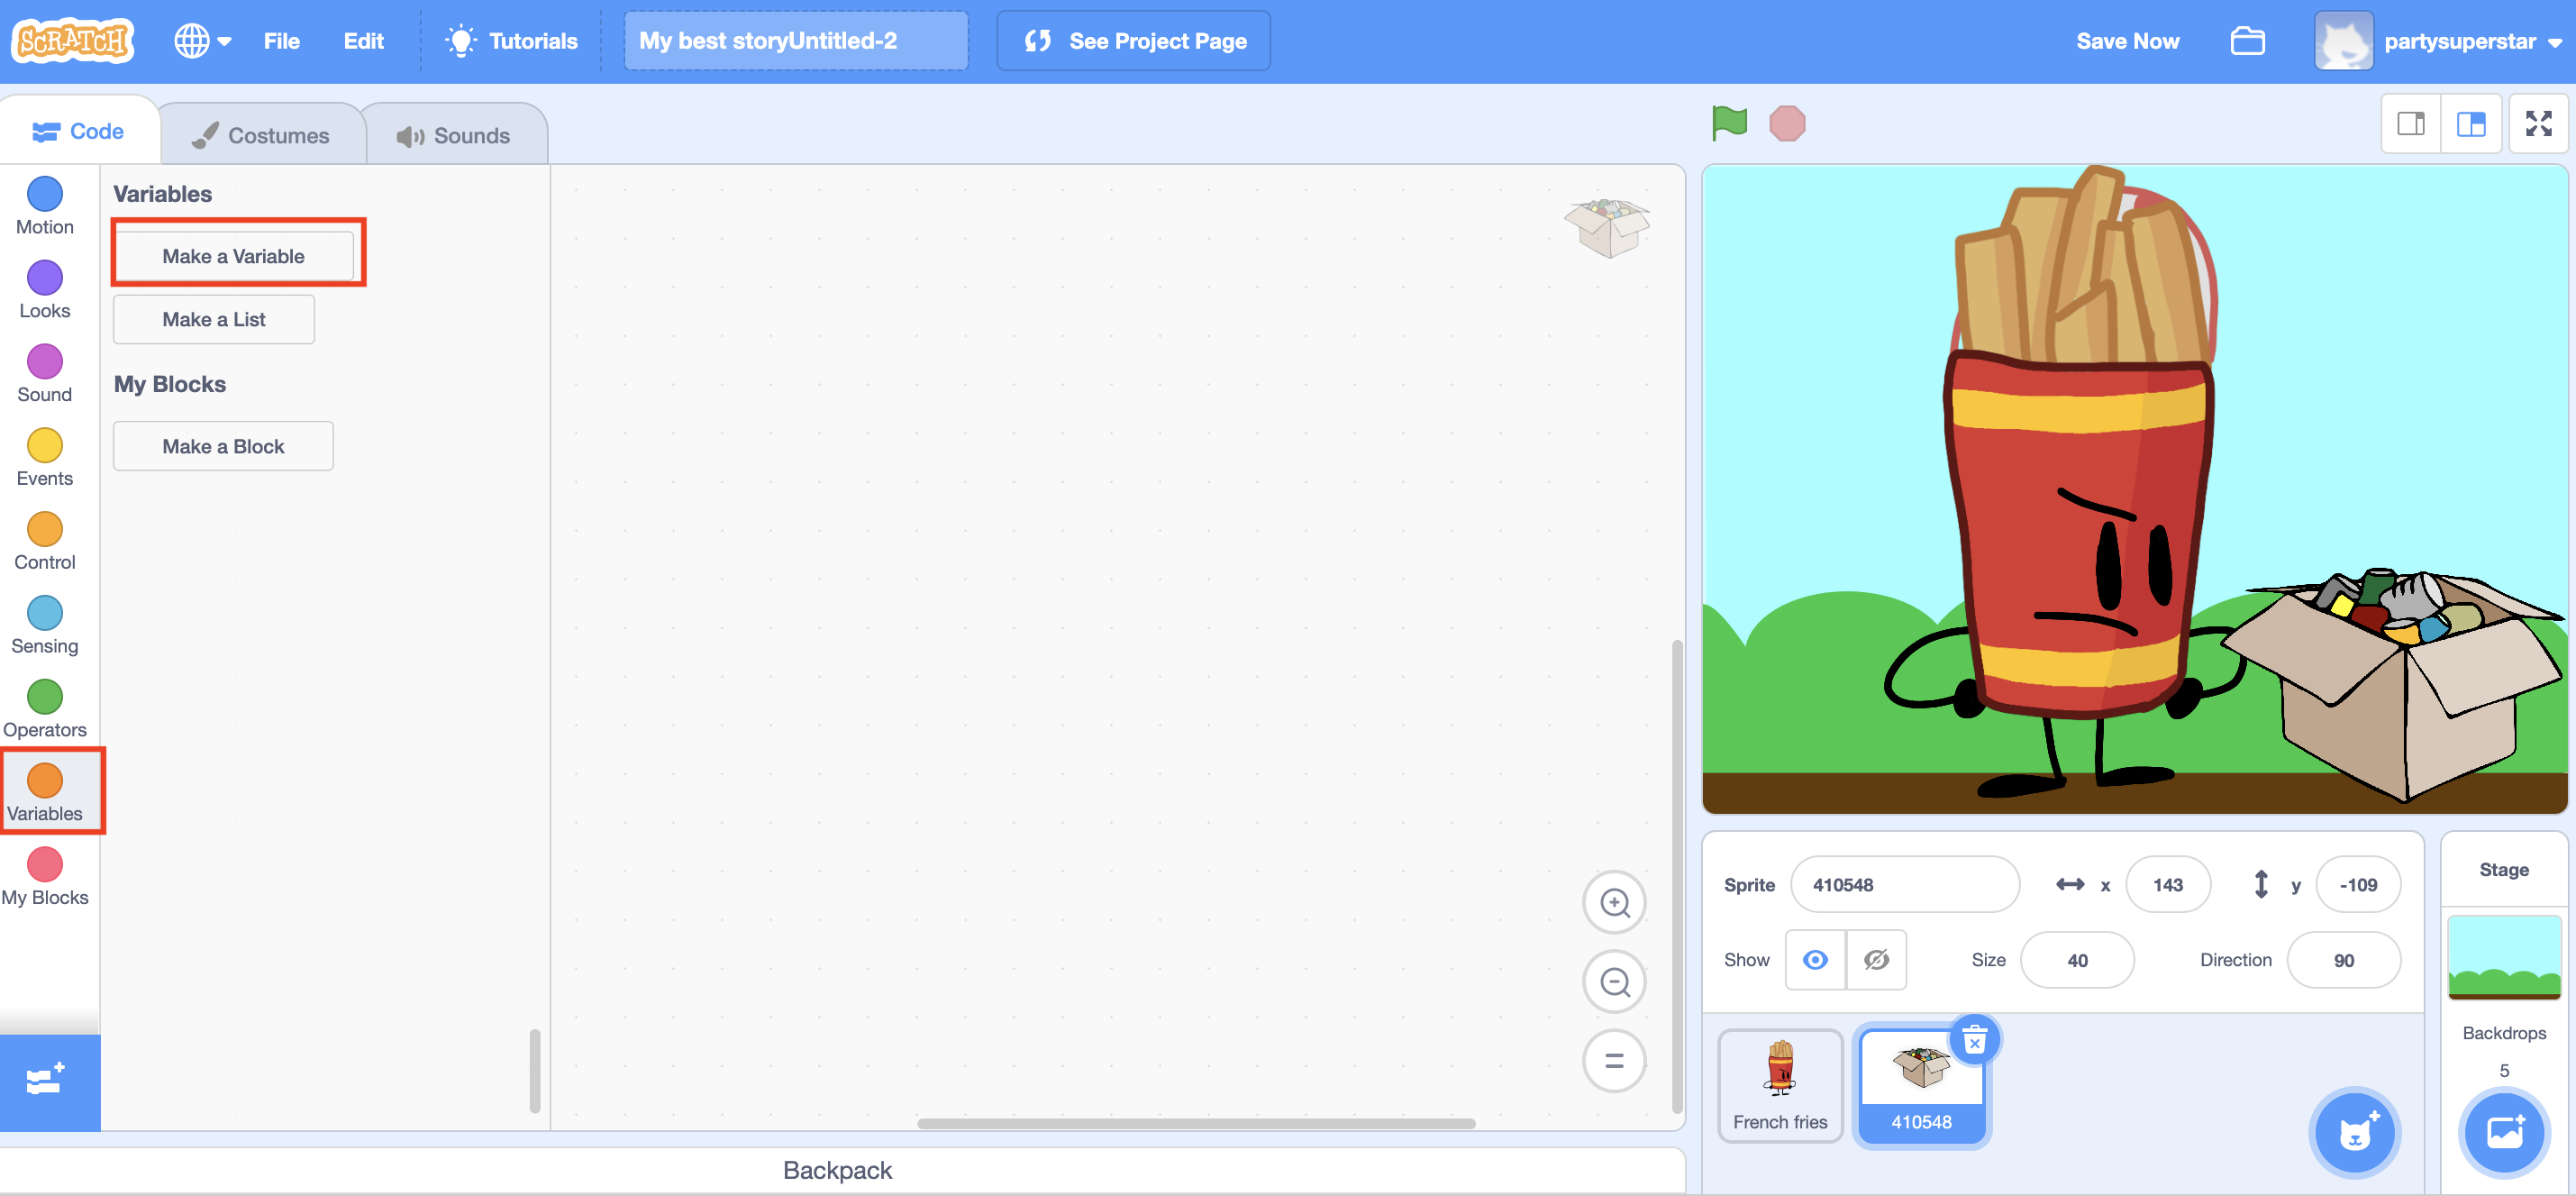
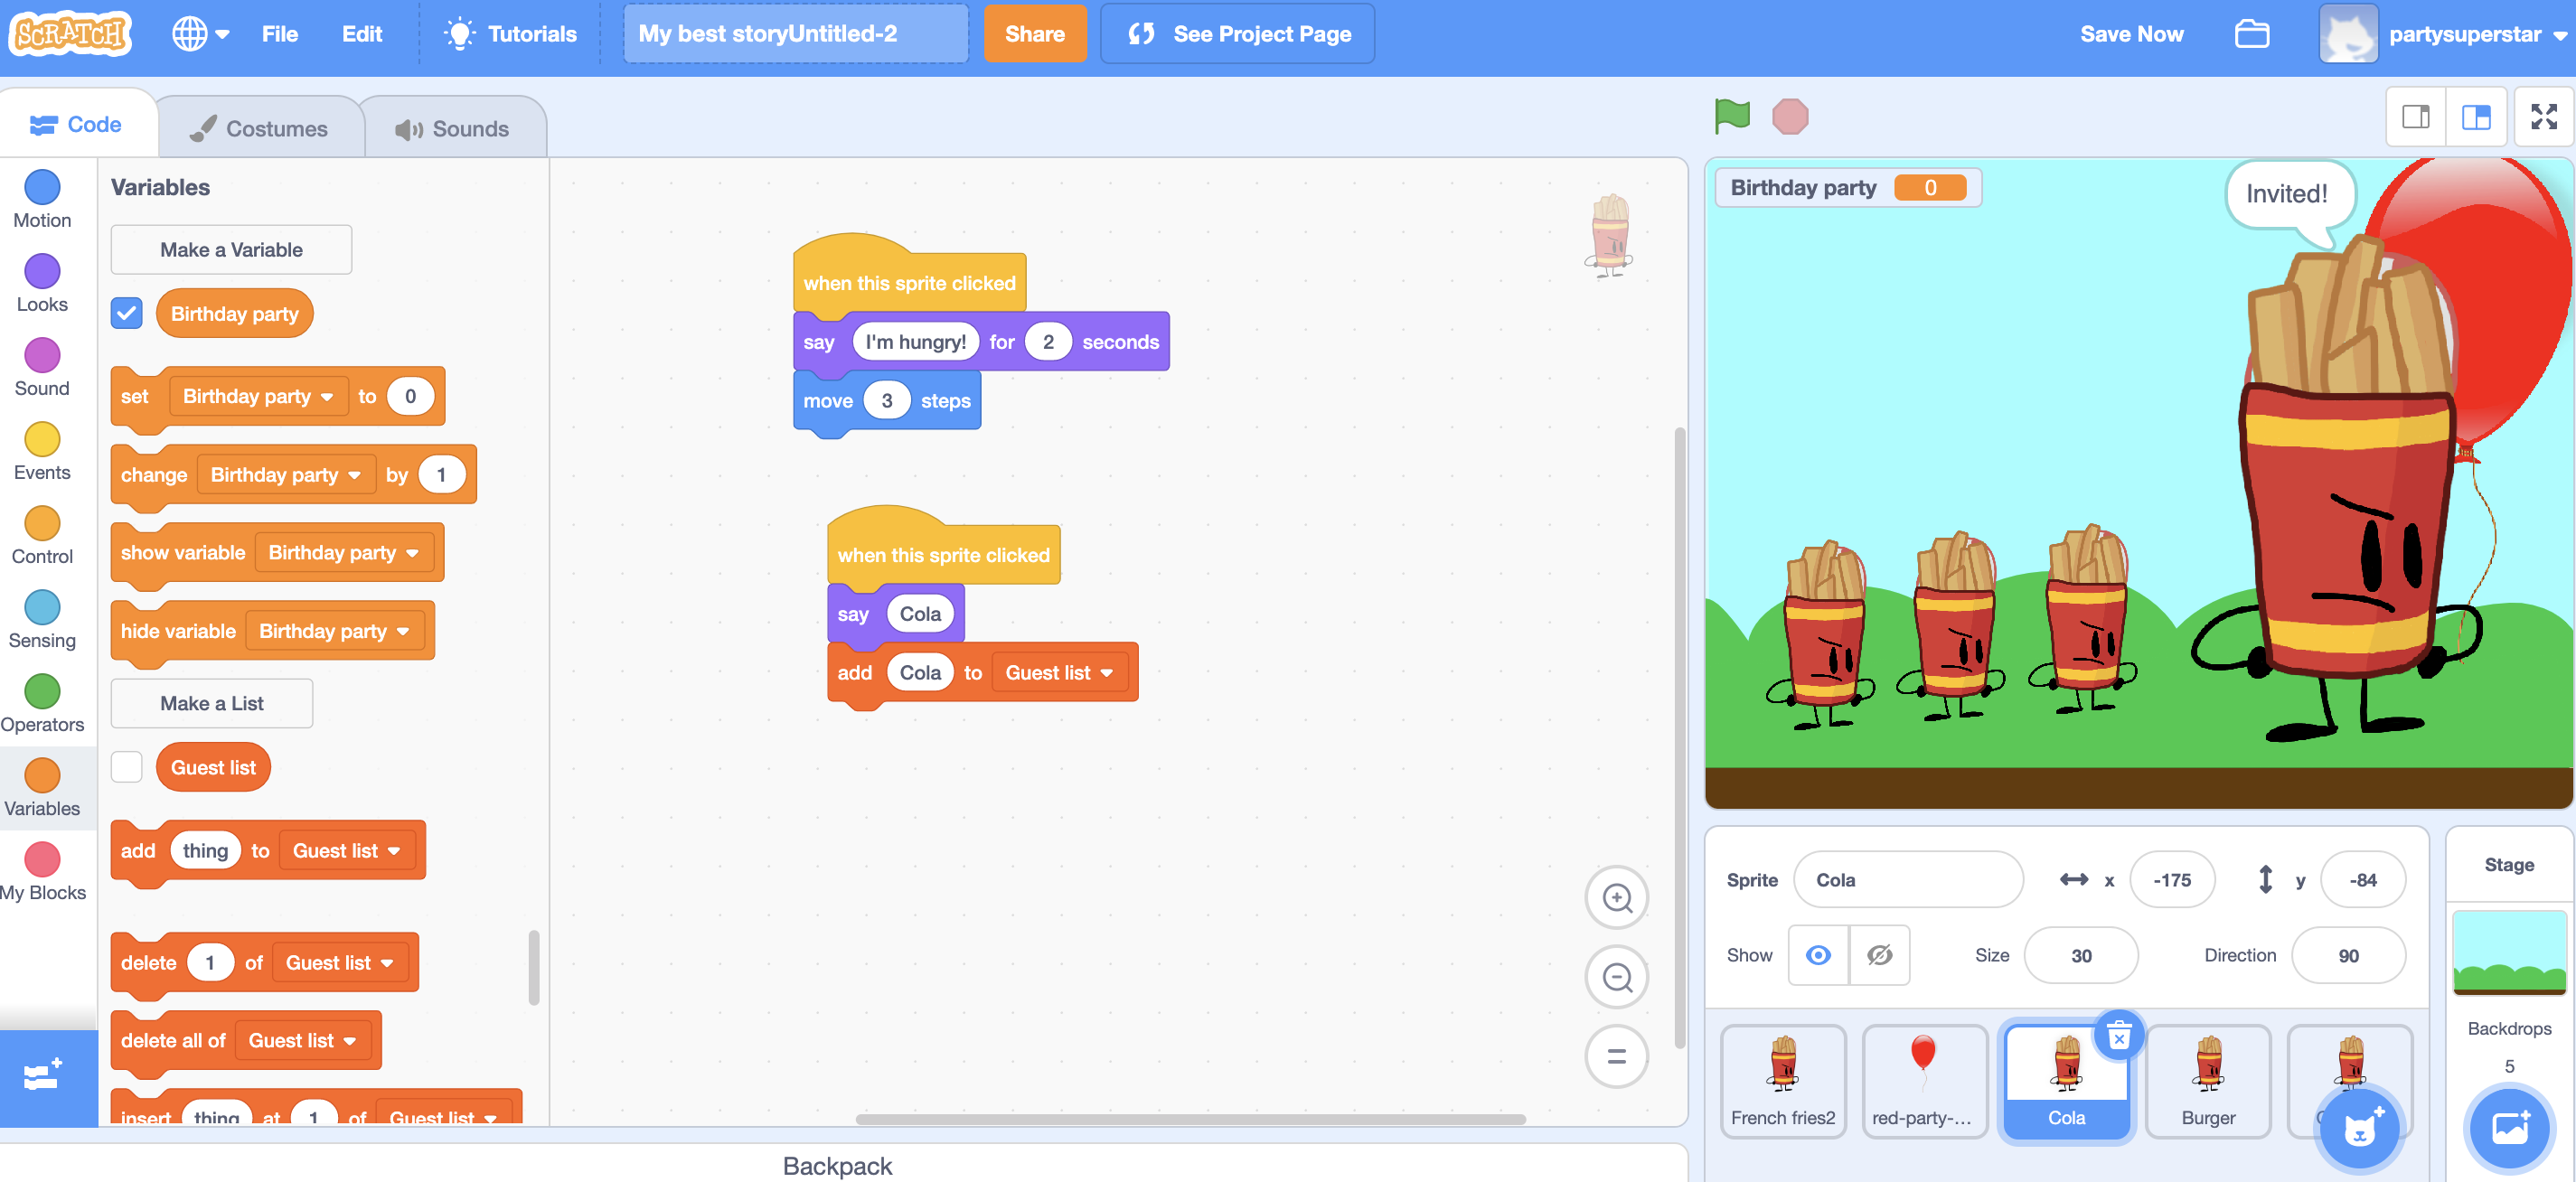
Next, drag out a “when green flag clicked” block and a “set variable” block from the “Data” tab. Connect the blocks so that the “Guest List” variable is set to an empty string when the project starts.

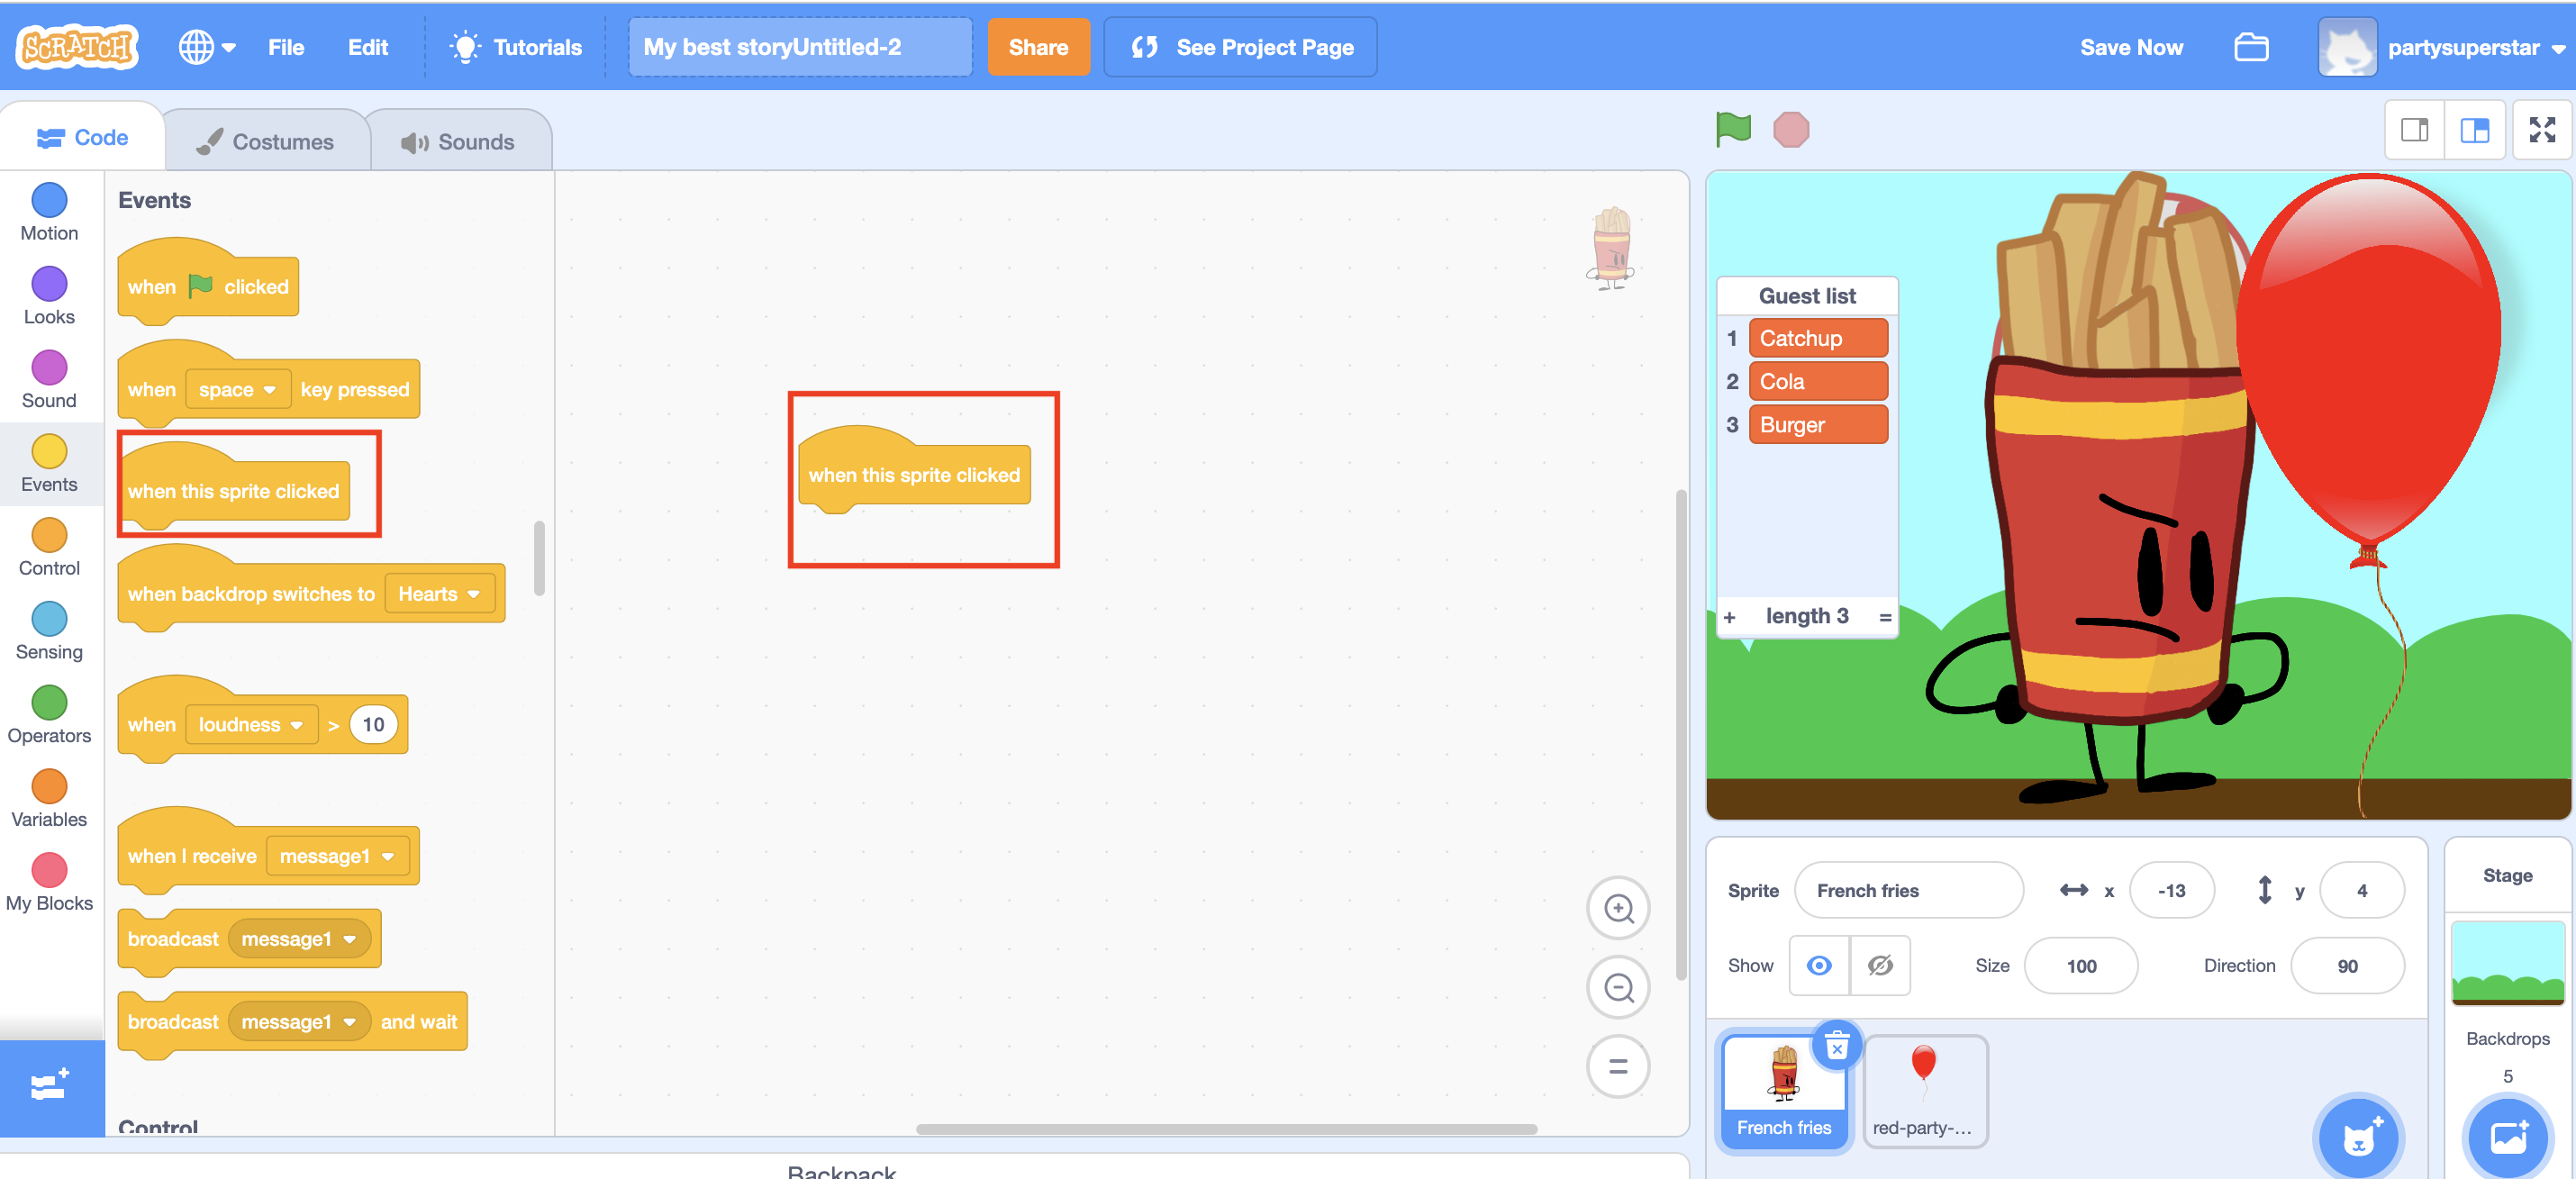
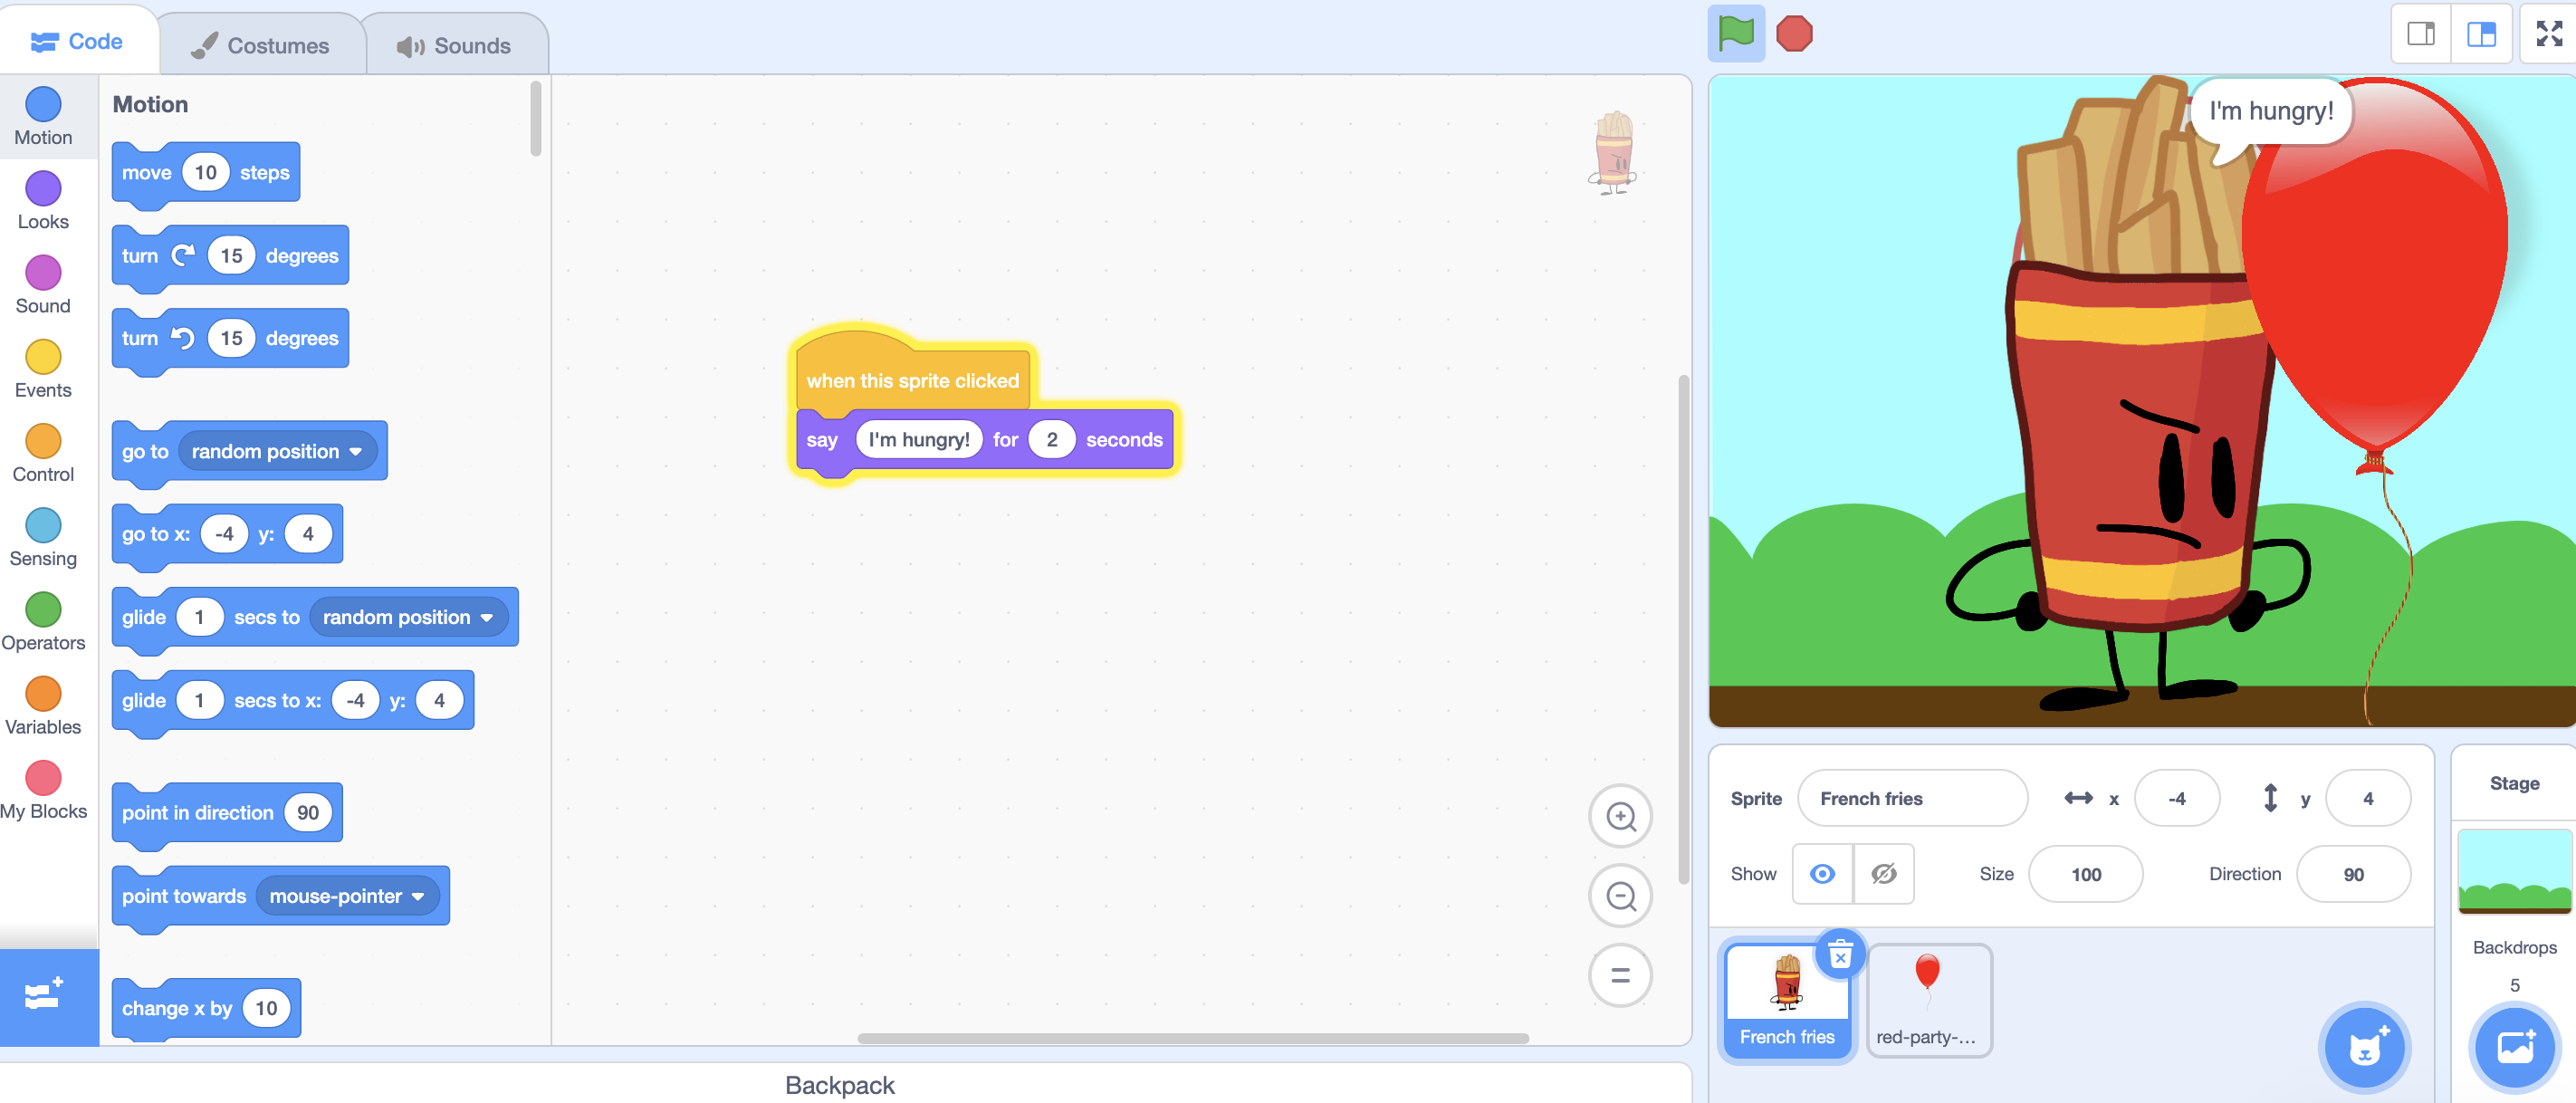
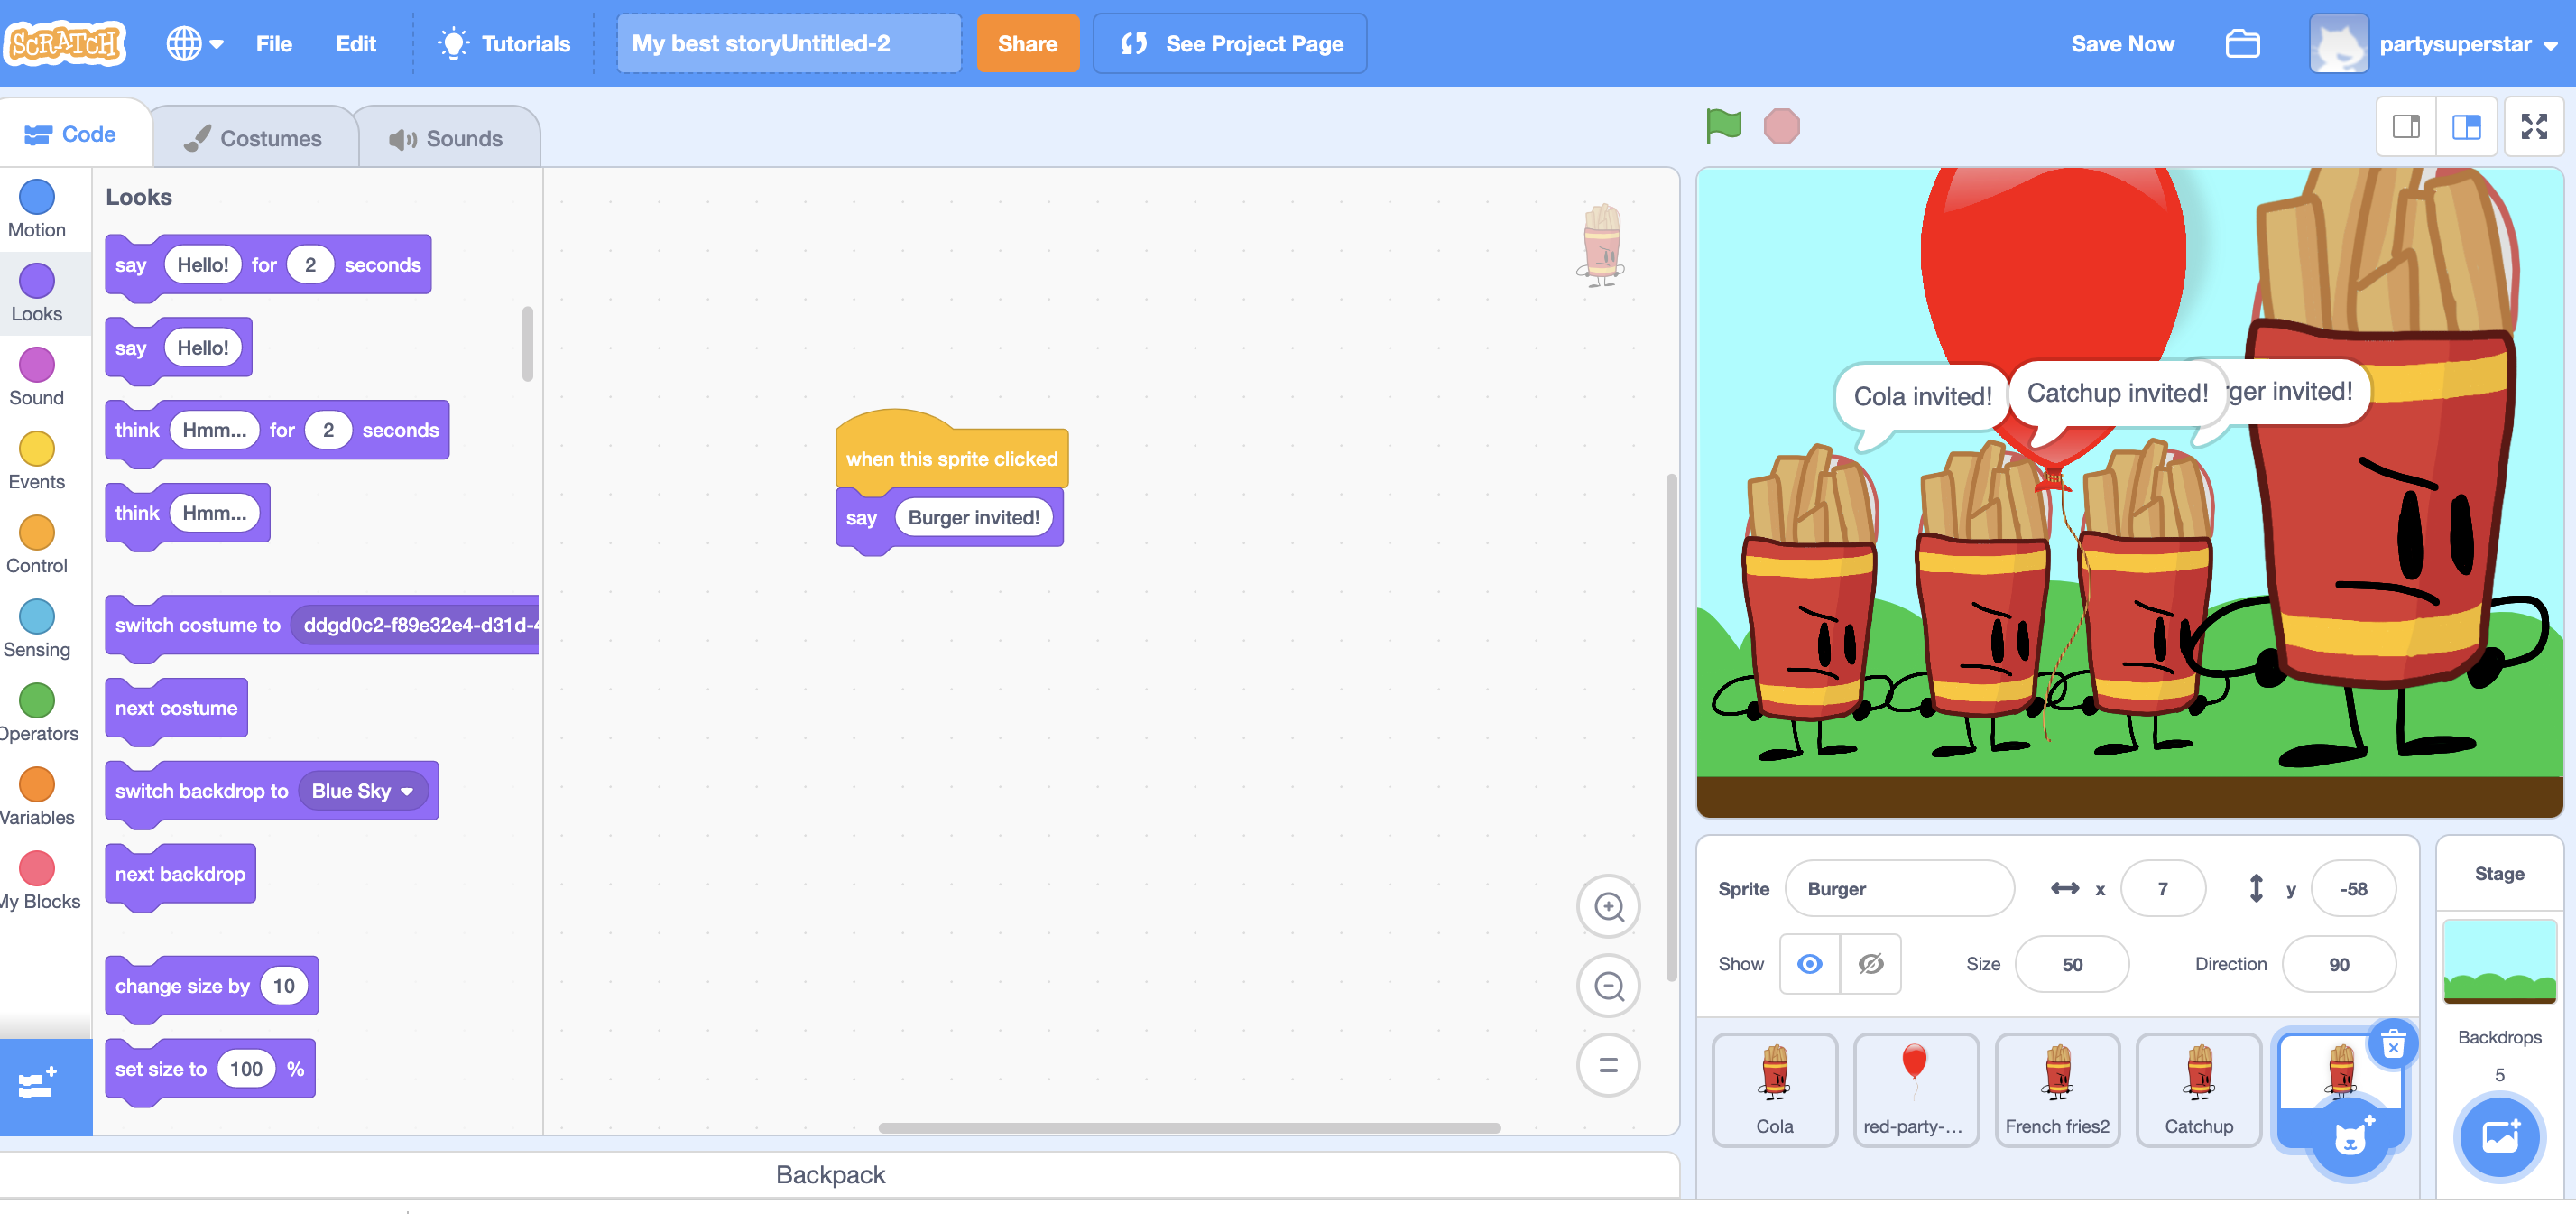
Go back to the birthday party invitation sprite and create a “when I receive” block from the “Events” tab, and select the “Cola Invited” message.
Add a “set variable” block and connect it to the “Guest List” variable. In the block, set the variable to the current value of the variable plus the name of the guest, followed by a comma and a space. For example, if Cola is the first guest invited, the “Guest List” variable would be set to “Cola, “.

6. Go further

Finally, create a “say” block from the “Looks” tab and place it in the invitation sprite. In the block, set the text to “Guest List: ” followed by the “Guest List” variable. Now, when you click on each guest sprite, their name will be added to the guest list variable, and the list will be displayed on the invitation sprite.

By using variables, you can easily update and display the names of the guests invited to the party. This is just one example of how variables can be used in Scratch to create interactive projects.

7. Test

Test your project frequently to ensure that the interactivity is working as intended. You can do this by clicking the green flag in the upper-right corner of the screen to start.

Experiment with different types of interactivity to make your project more engaging for the user. For example, you can create a quiz that lets the user answer questions or a game that lets the user control the sprite’s movements.

Step 5: SHARE YOUR PROJECT

Now, it’s time to share it with the world. In this step, you’ll learn how to share your project online with others. Sharing your project can help you get feedback and show off your skills to a wider audience. 

Watch the video

You have successfully shared your Scratch project with the world.
Now sit back, relax, and wait for the positive feedback from your audience.
Don’t forget to share your project on social media and with your friends and family.
Keep creating and telling your stories with Scratch!

1. Save your project

Before sharing your project, make sure to save it. Click on “File” in the top-left corner of the Scratch interface and select “Save” to save your project.

2. See Project Page

Click on the button “See Project Page”.

3. Fill in the project details

Once you’ve chosen your sharing options, you’ll need to fill in the project details. Give your project a title, a description, and select the appropriate tags. This will help others find your project on the Scratch website.

4. Share your project

Once you’ve filled in the project details, click on “Share Project” to share your project with the world! You can now copy the link to your project and share it with others.

5. Choose your sharing options

In the “Share Project” window, you can choose how you want to share your project. You can share it on the Scratch website, share it on social media, or embed it on a website. Select the option that best fits your needs.

6. Get feedback and comments

As people view your project, they may leave comments or feedback. Make sure to read these comments and respond to them. They can provide valuable insights and help you improve your storytelling skills in Scratch.

Congratulations! You have just learned how to create your very own interactive stories in Scratch. With the skills you have learned in this tutorial, you can create all sorts of stories and games. So, what are you waiting for? Start coding and let your imagination run wild!

Feedback Form

Great job on completing the tutorial!
We would love to hear your thoughts on how we can make it even better.